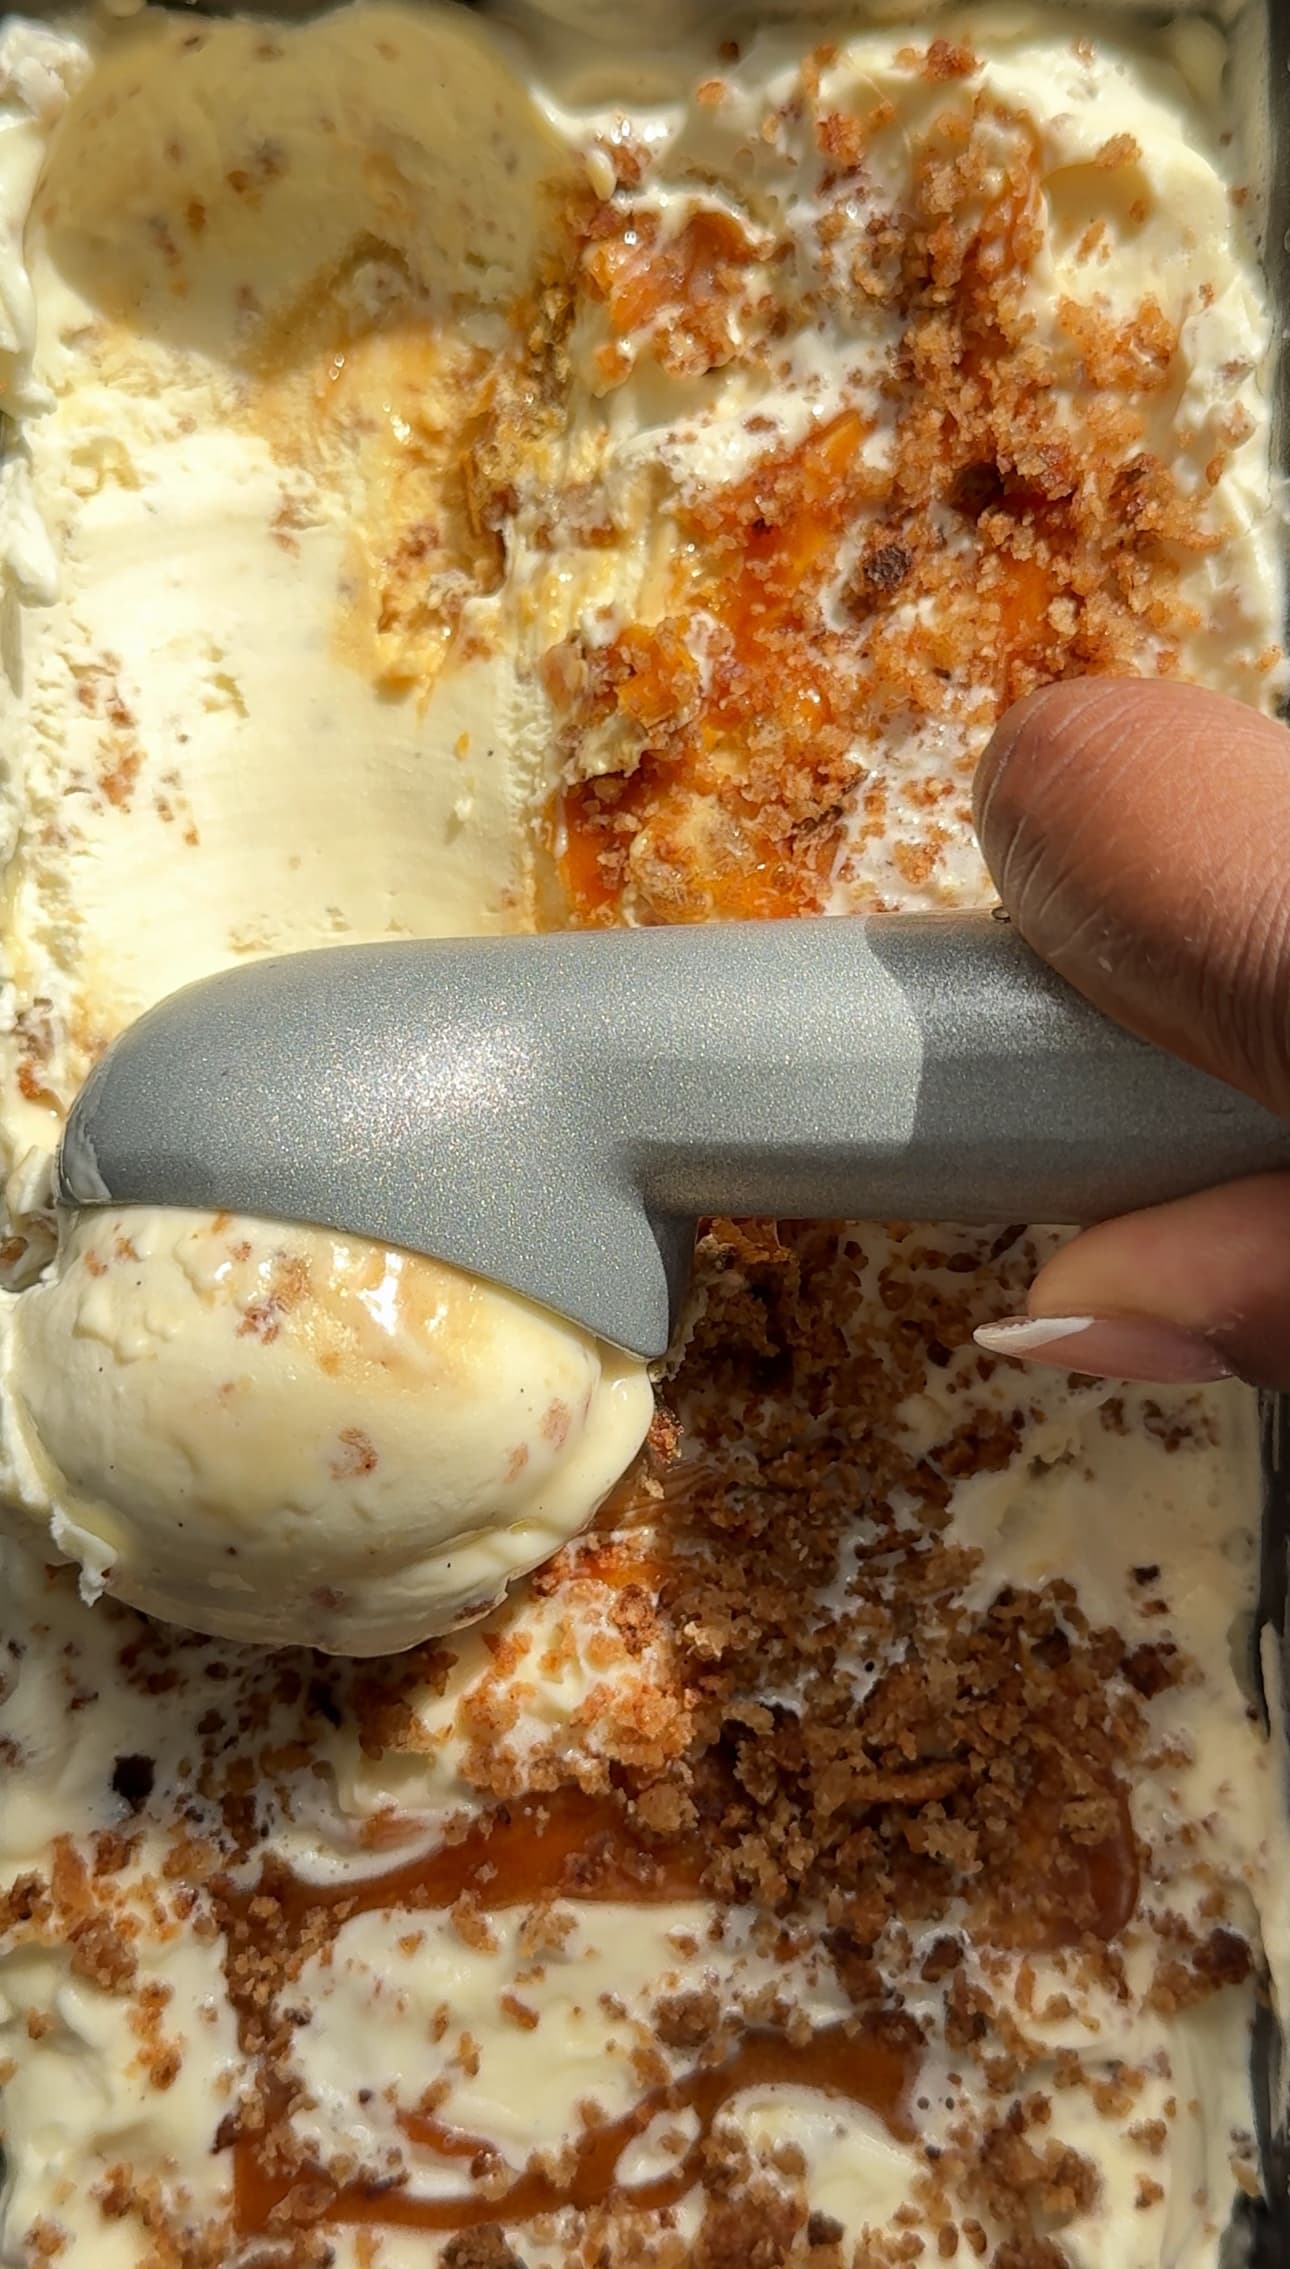
no churn banana miso caramel crunch icecream
About this recipe
I’m going to be honest with you, because I always am. I have never been a banana ice cream person. There’s just something about it that’s always felt slightly off to me. I don’t know if it’s the flavour, the texture, or the fact that it sometimes tastes like that slightly gone-off milk situation I convinced myself I could taste as a kid. Either way, banana ice cream has never been my go-to.
And yet somehow… here we are.
Because one random evening, I was in Waitrose, doing what I always do, wandering the ice cream aisle like I wasn’t meant to be there, when something caught my eye. A banana caramel pecan ice cream from Hackney Gelato. And I don’t know how to explain it, but I got that feeling. You know the one. When something just feels like it’s going to be good.
So of course I picked it up.
Got home, didn’t even pretend to be civil about it, straight in with a spoon, and do you know what? It was actually incredible. Creamy, nutty, rich with caramel… but I had one immediate thought.
I wanted more banana.
Which, if you know me, is genuinely shocking.
And that’s when I knew I had to take matters into my own hands. Because if I was going to do banana ice cream, I was going to do it properly. More banana, deeper caramel, and something to balance it all out so it didn’t just taste overly sweet.
Enter miso.
Now before you scroll thinking I’ve lost it, just hear me out. Miso doesn’t make this taste savoury. What it does is add depth. That umami richness that makes caramel taste even more like caramel. It balances the sweetness, rounds everything out, and gives you that “what is that?” moment when you take a bite.
It’s the same reason why recipes like my Earl Grey Tres Leches or even my Vodka Pasta work so well. There’s always that one element that deepens the flavour and makes everything feel a bit more intentional rather than just sweet for the sake of it.
For this ice cream, that depth starts right at the beginning with the bananas.
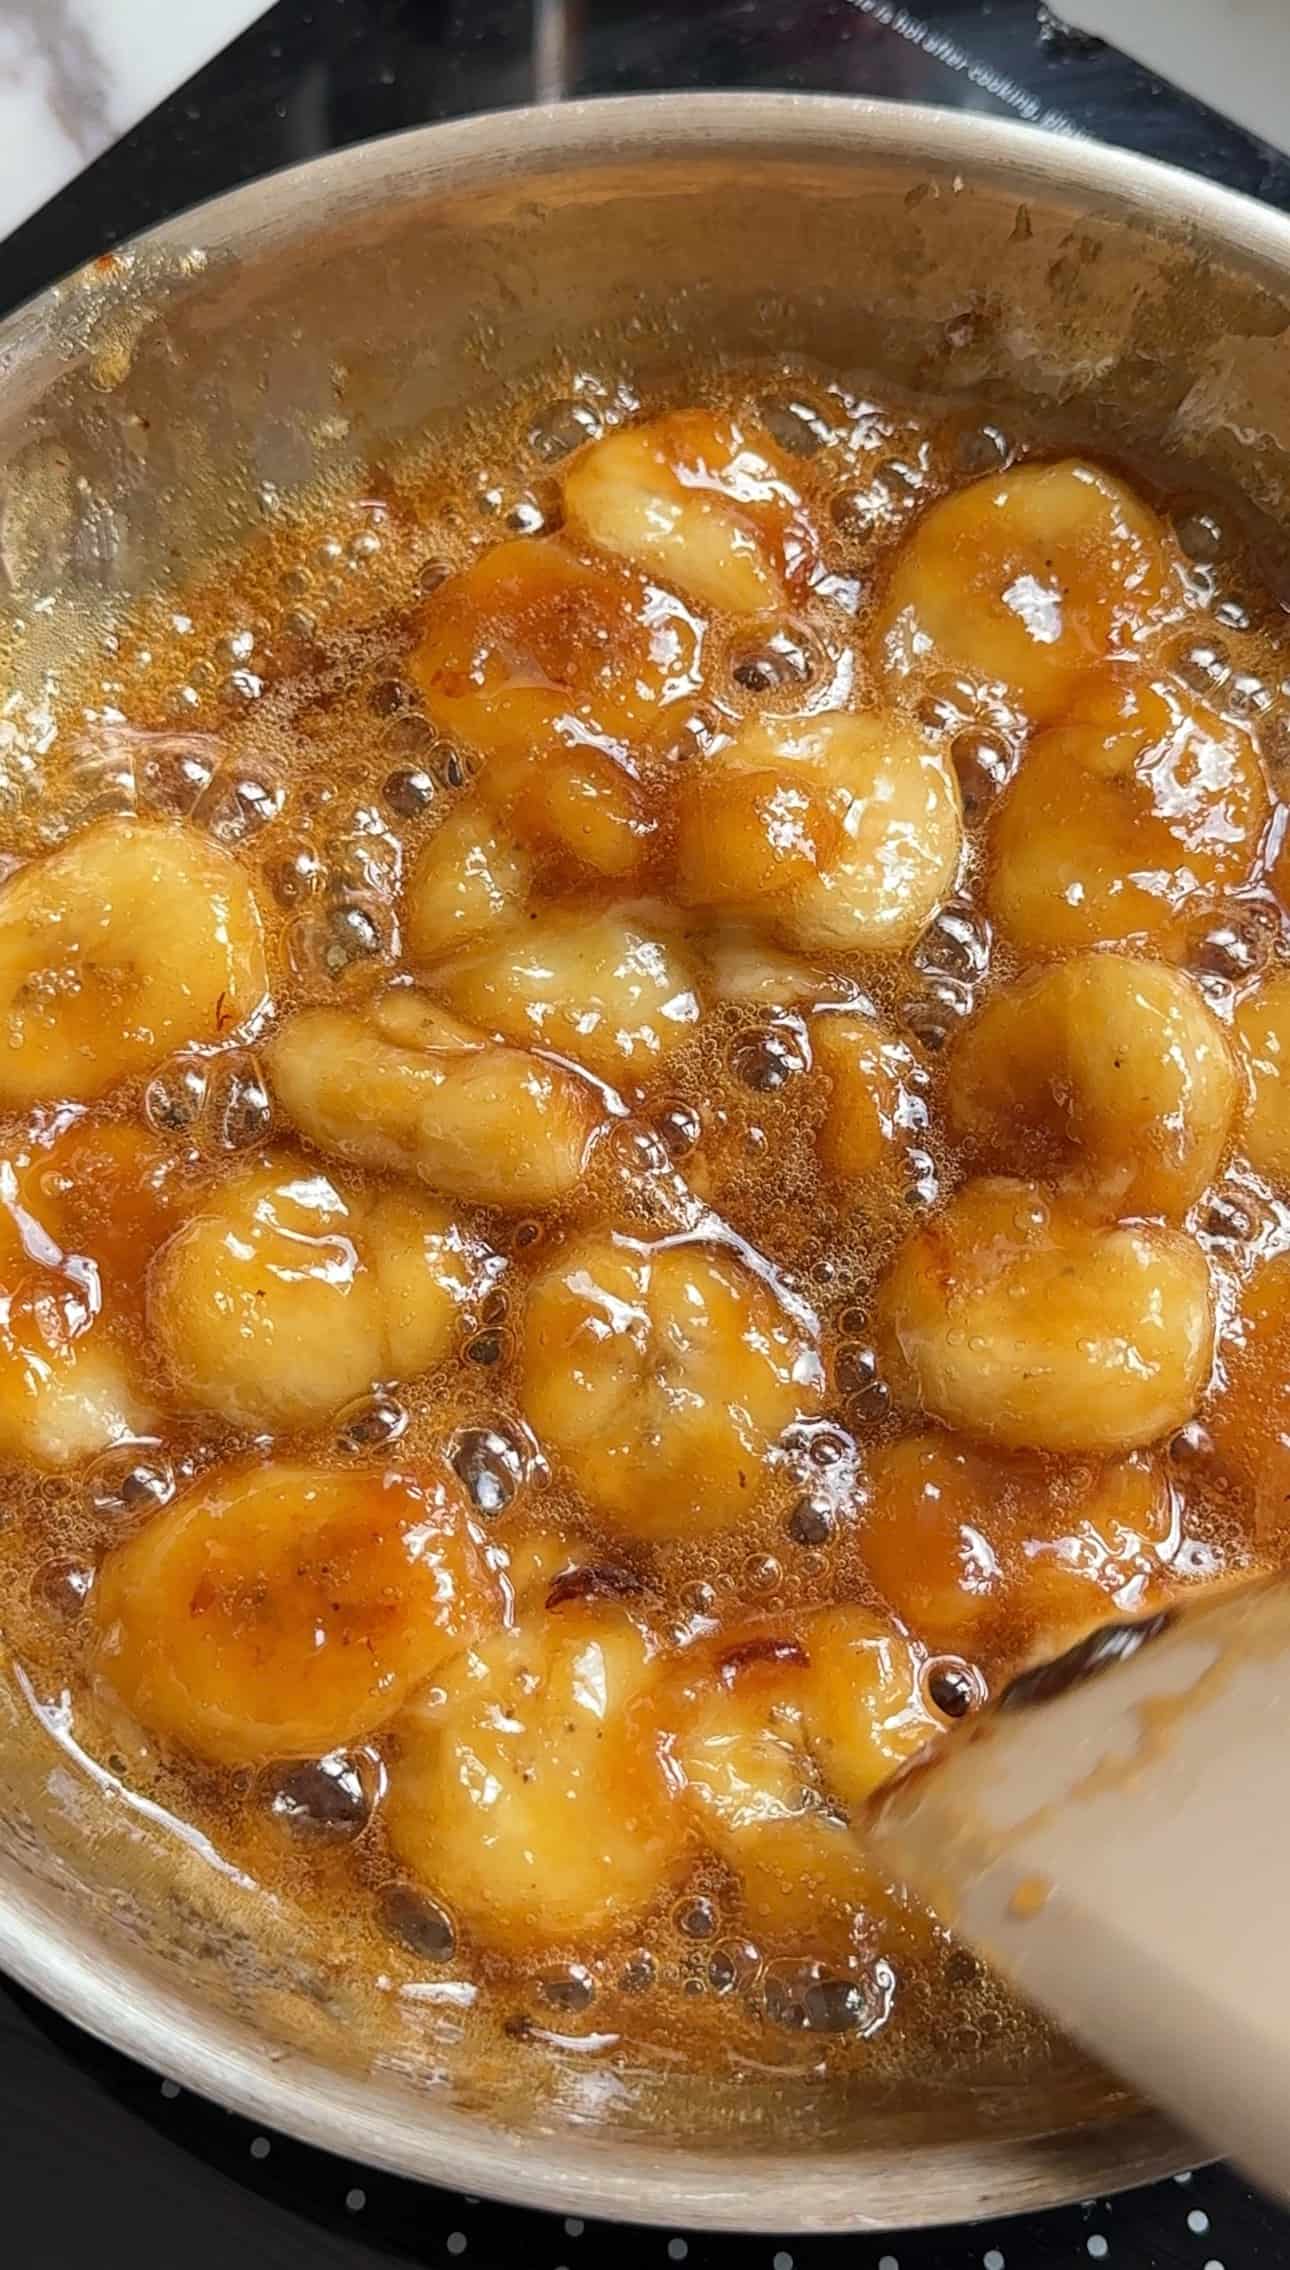
Instead of just mashing them in raw, I cook them down in brown sugar until they’re soft, sticky, and almost jammy. This step is everything. It intensifies the flavour and removes that slightly flat taste banana can have once frozen. You end up with something rich, almost like a banana toffee situation.
While it’s still warm, I add in the miso so it melts through completely, then blend it into a smooth mixture. This becomes the base flavour that runs through the entire ice cream.
Then comes the caramel. And I’m not talking about a quick cheat version. A proper caramel. Slightly bitter, deeply buttery, and rich enough to cut through the sweetness of everything else. I’ve got the full caramel recipe over on my YouTube, which I’ll link here, because once you make it once, you’ll end up using it for everything from drizzling over desserts to folding into things like my Sticky Toffee Pudding.
Now let’s talk about no churn ice cream, because I know some people hear that and think it’s a shortcut. It’s not. It’s just a different method.
Traditional ice cream is churned in a machine to slowly freeze the mixture while incorporating air. That air is what gives ice cream its soft, scoopable texture. Without it, you’d just have a solid block.
With no churn, we recreate that in a simpler way.
We whip double cream until it holds soft peaks. What you’re doing here is physically adding air into the mixture. Those tiny air bubbles are what give the ice cream its lightness. Then we fold in sweetened condensed milk, which adds sweetness and keeps everything smooth because sugar lowers the freezing point.
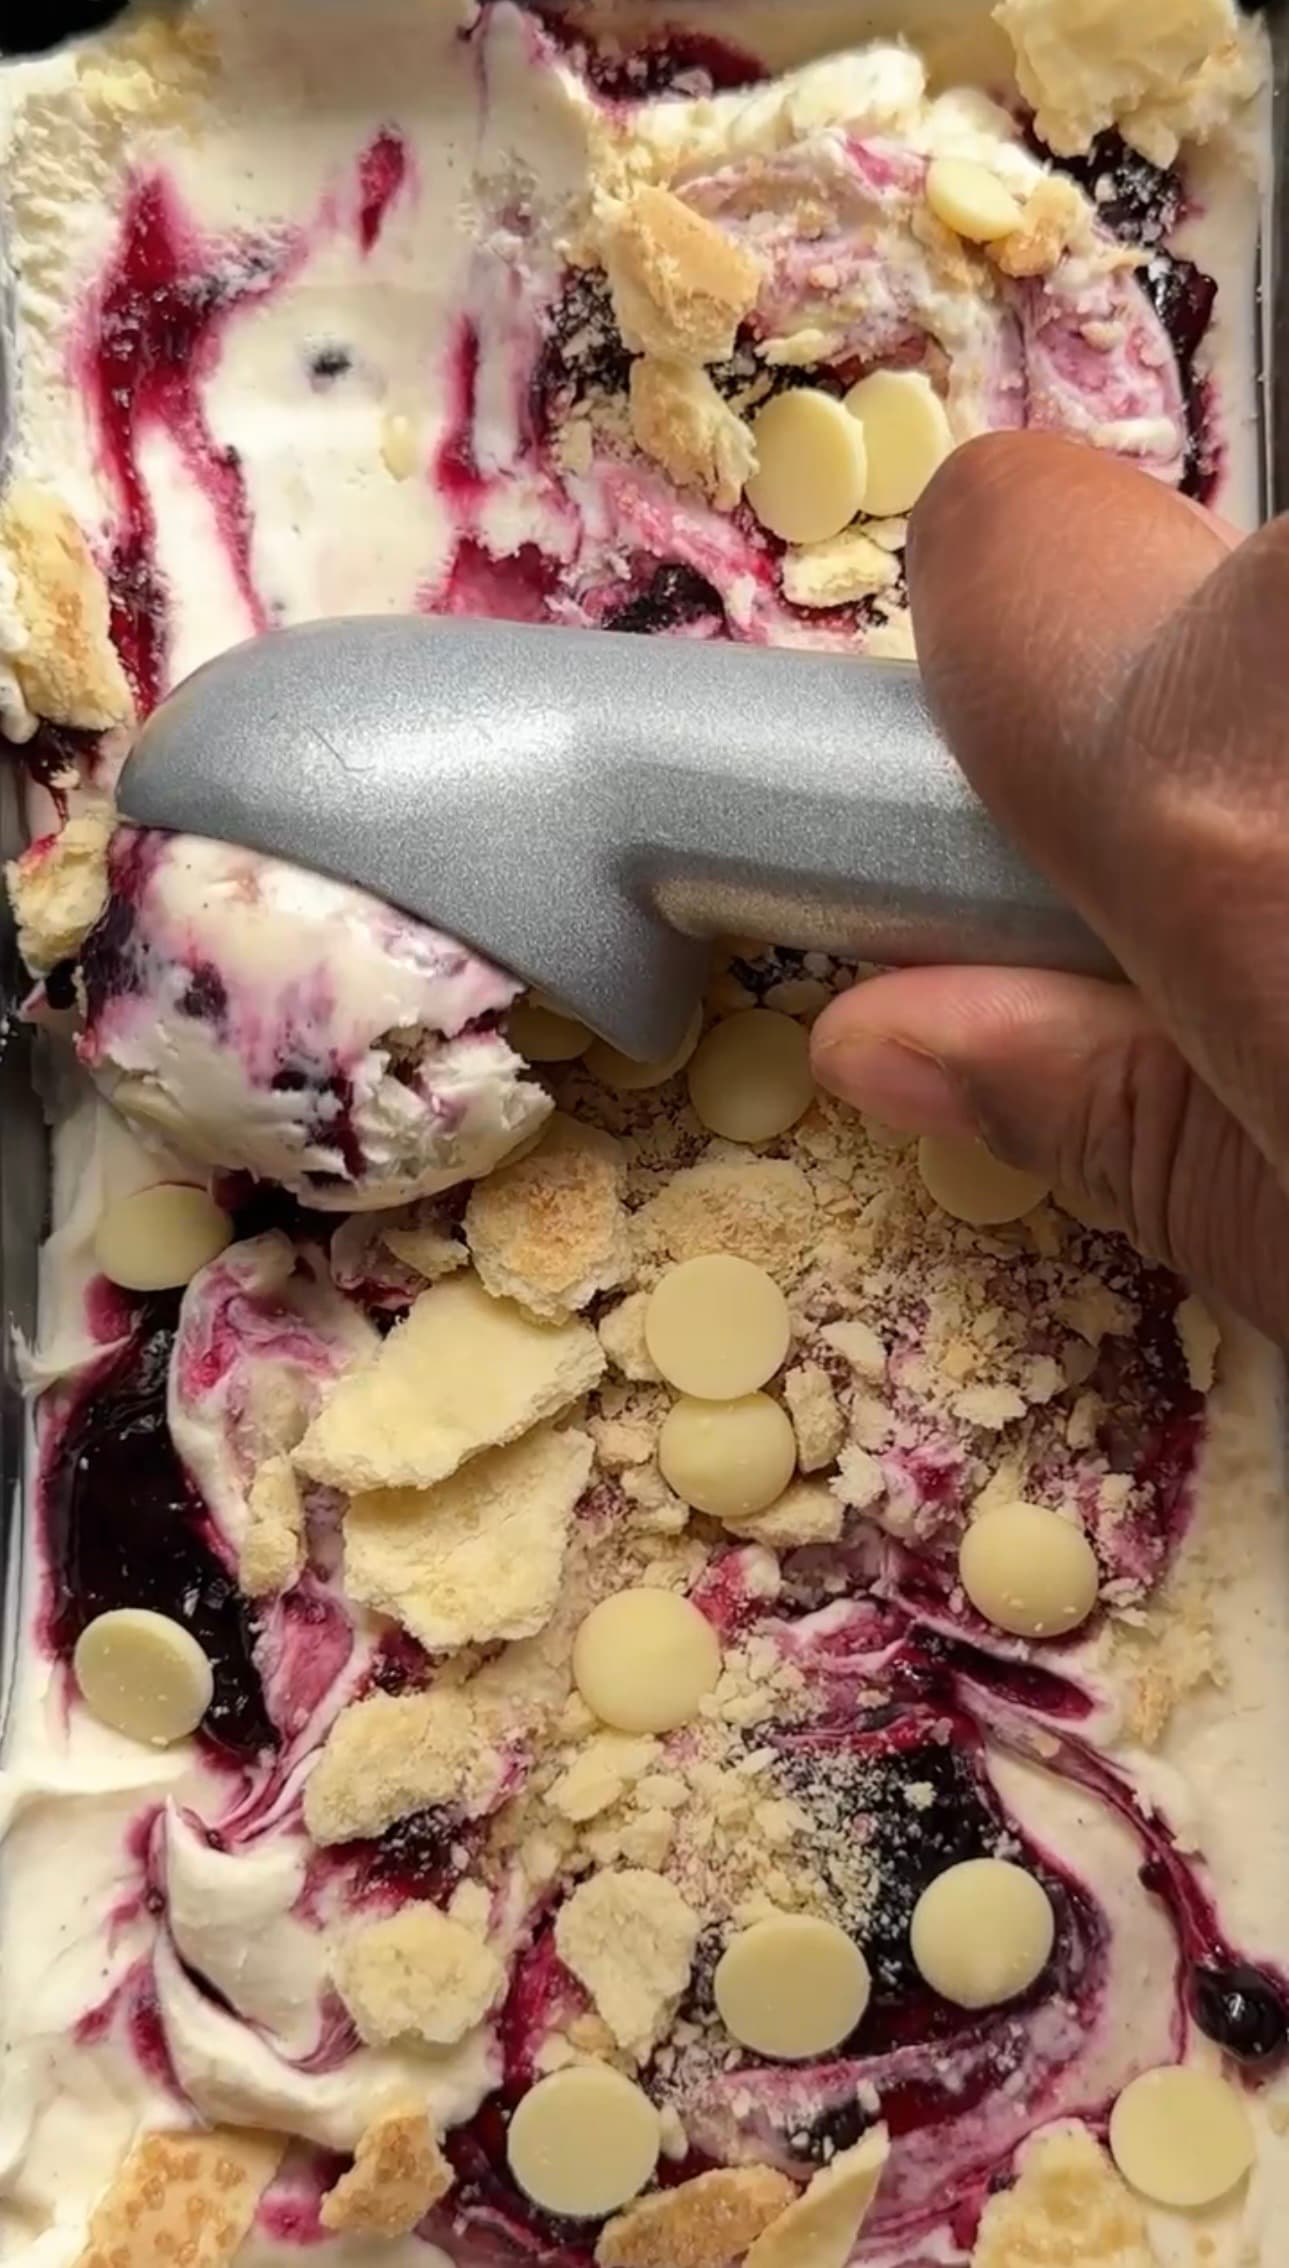
If you’ve ever made my Blueberry Pie No Churn Ice Cream or any of the other ice creams on my site, you’ll know this method works. It’s quick, reliable, and genuinely gives you that creamy texture without needing a machine.
Once your base is ready, in goes the banana miso mixture, ribbons of caramel, and then the pecans.
Now let’s talk pecans, because I nearly took this somewhere else.
One of my favourite ways to prepare nuts is to praline them. Coating them in caramel, letting them harden, then breaking them up into crunchy shards. It gives you this incredible texture and shine. But for this recipe, I actually held back.
Because between the condensed milk, the caramel, and the banana, there’s already a lot going on. Adding praline might have tipped it into being too sweet. And balance is key here.
So instead, I toast the pecans.
You still get that warmth, that nuttiness, and that crunch, but it doesn’t overpower everything else. It lets the banana and caramel do their thing while still adding texture.
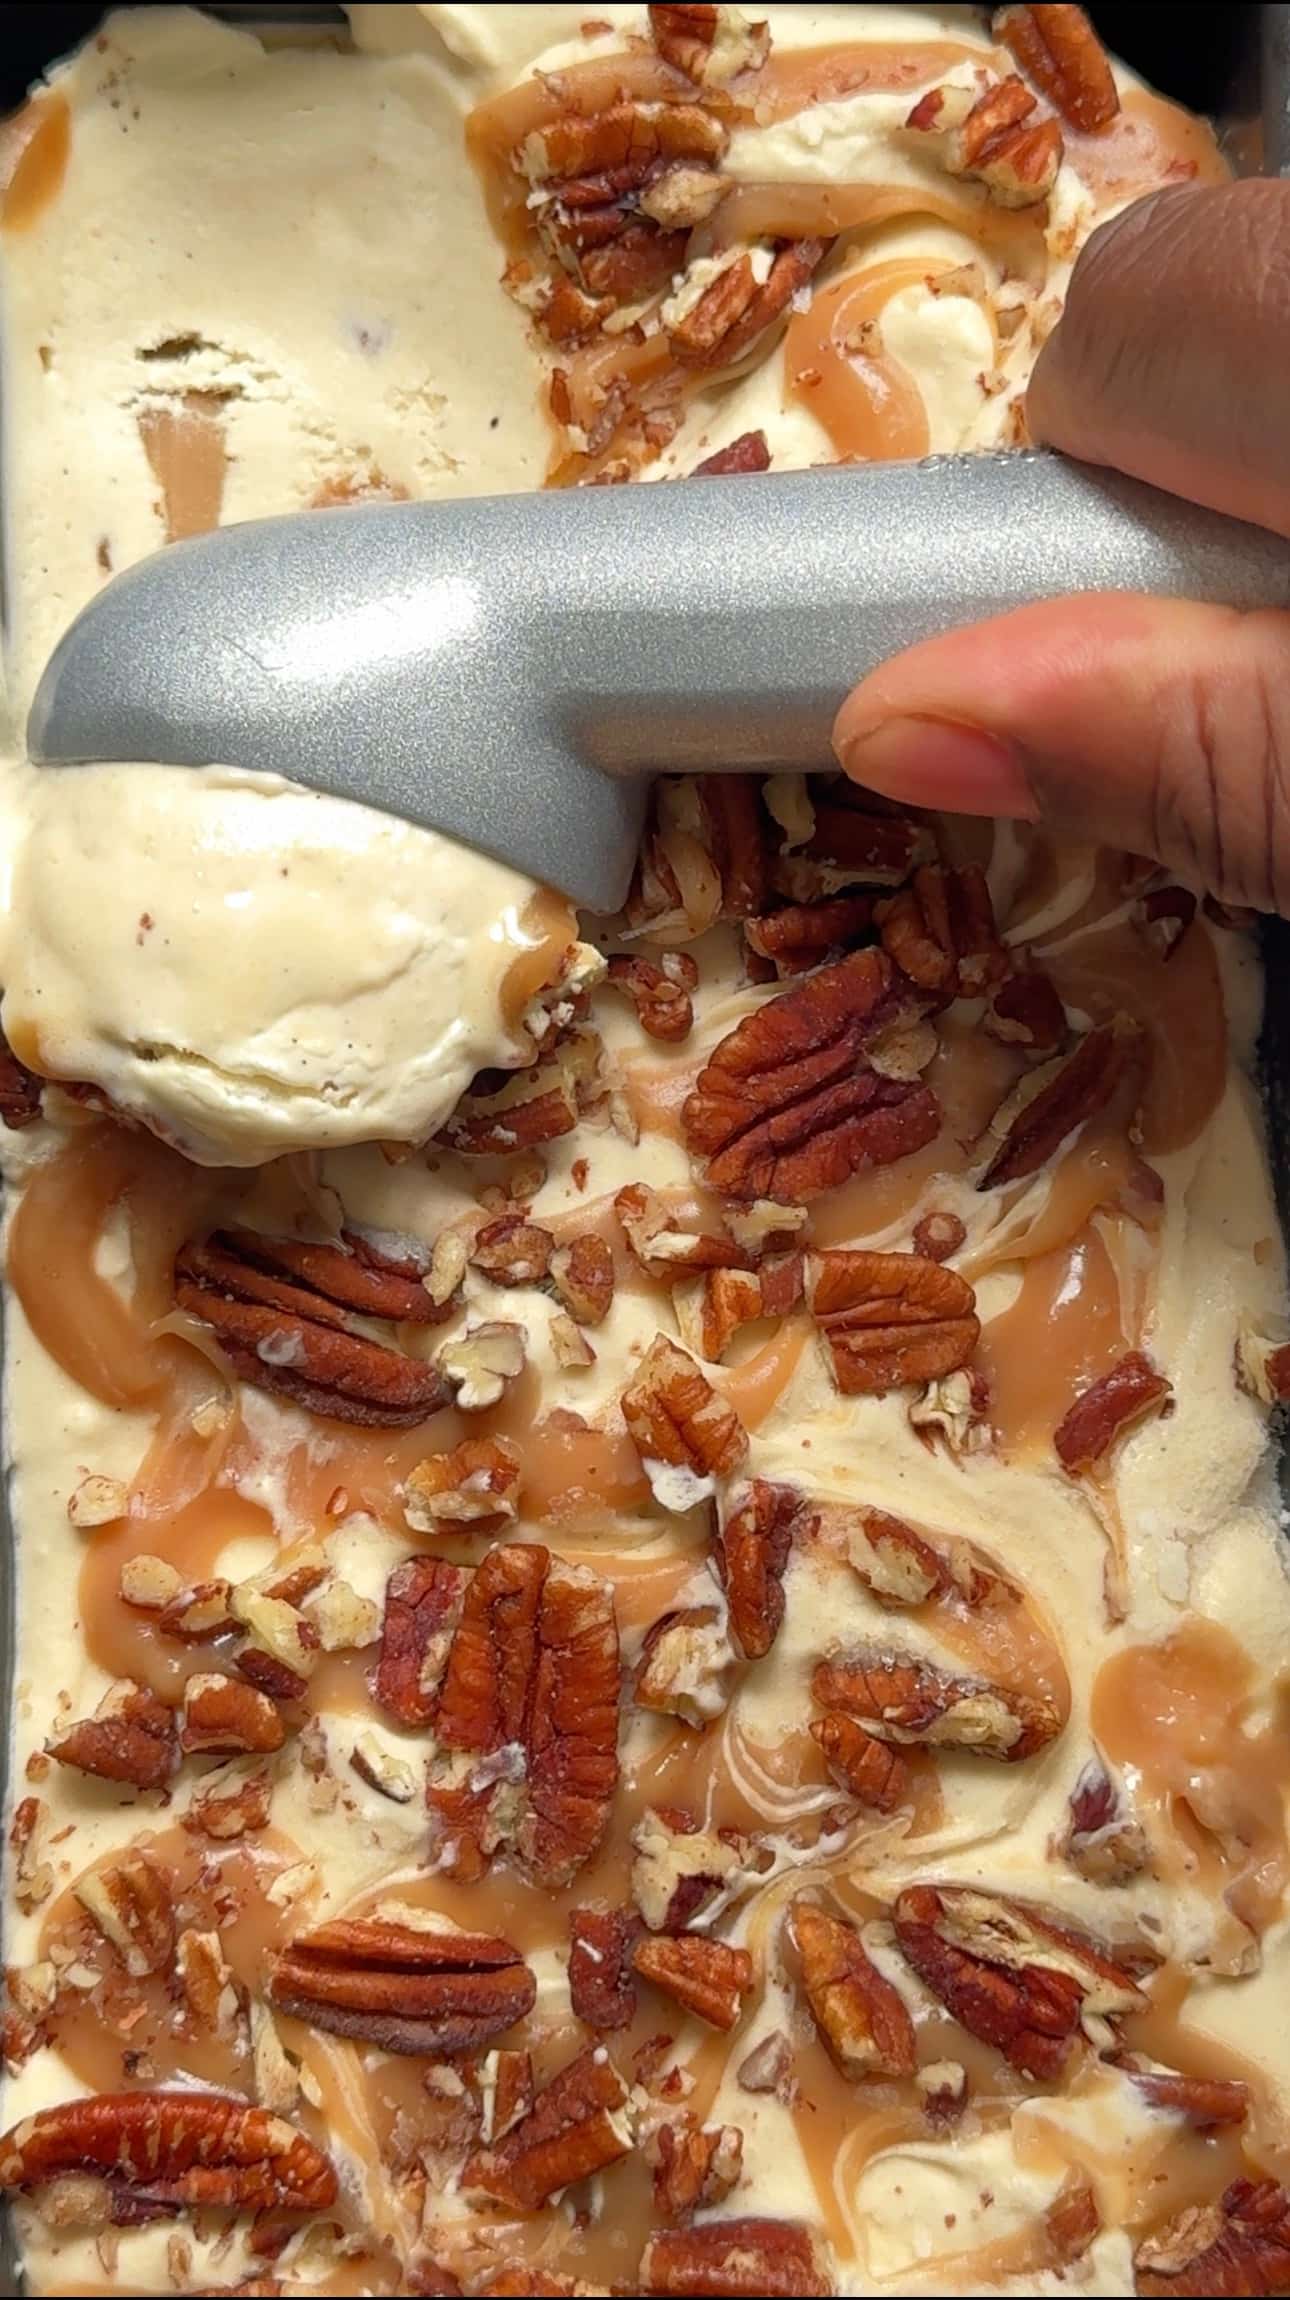
Then comes my favourite part, the layering.
I spoon some of the ice cream base into a loaf tin, drizzle over caramel, scatter pecans, then repeat. It creates these ripples all the way through, so when you scoop it, you get a bit of everything in every bite.
This is very much the same energy as how I build flavour in desserts like my Almond Croissant Pudding or even my Brownie Stuffed Cookies. Layers matter. Texture matters. You want contrast in every bite.
Once it’s layered, it goes into the freezer. No machine, no stress, just let it do its thing.
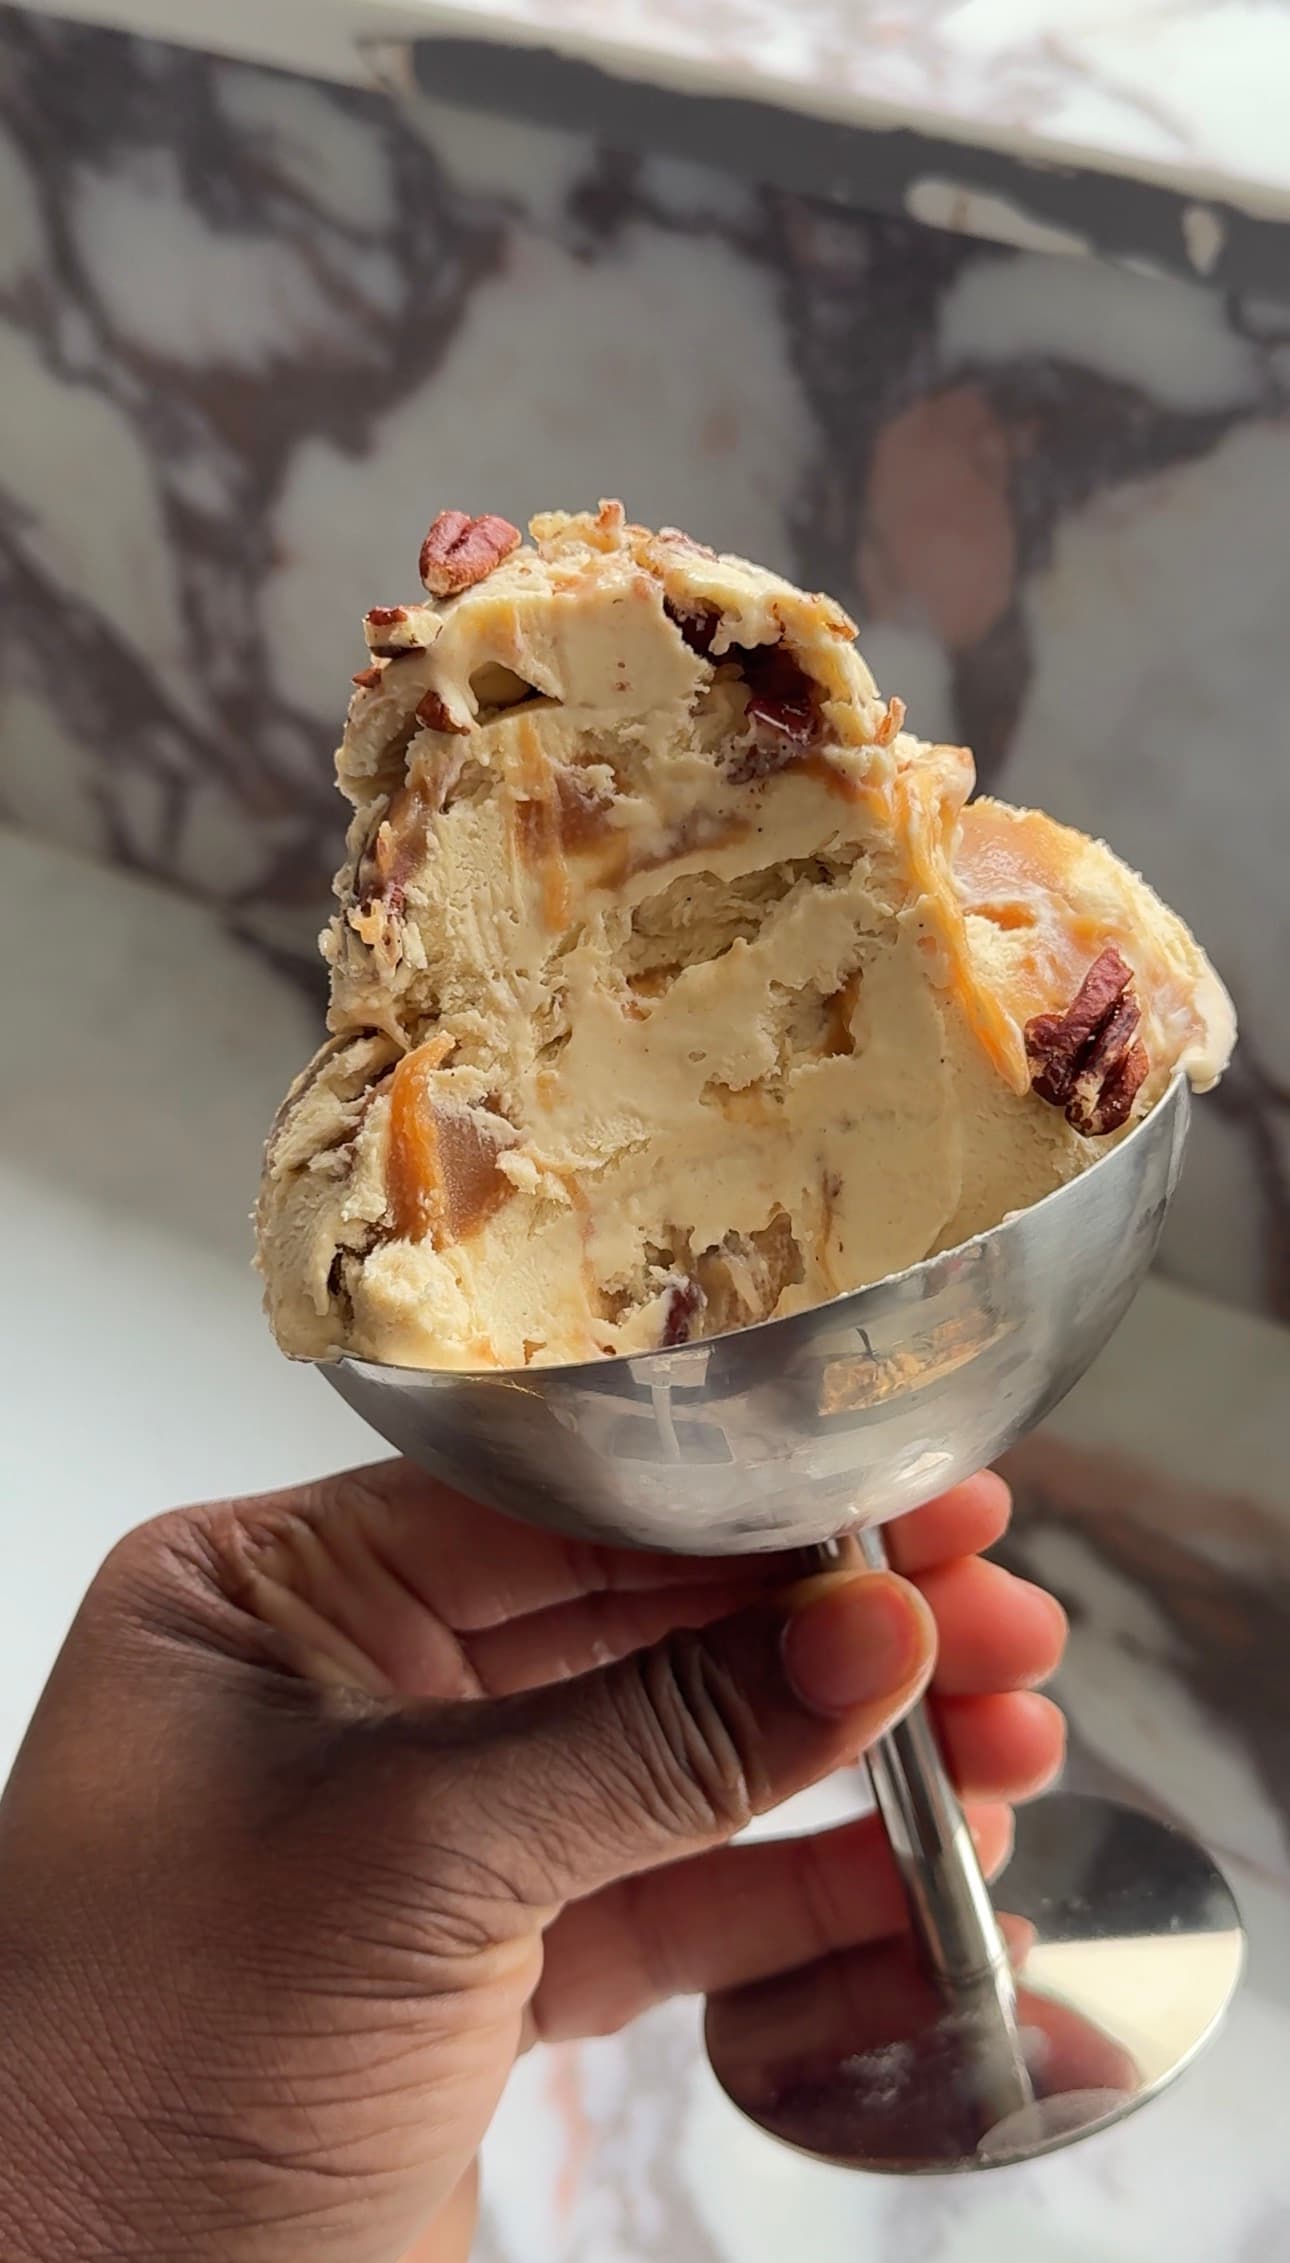
And what you end up with is honestly one of the best no churn ice creams I’ve made. It’s creamy, rich, perfectly balanced, and actually tastes like banana in the best way possible. Not artificial, not flat, but deep, caramelised, and slightly complex.
And the miso? That’s the quiet hero. You don’t taste it outright, but you’d notice if it wasn’t there.
This is exactly why I love no churn ice cream so much. It’s accessible. It’s easy. And it still delivers.
Ice cream should be something everyone can make. Just like my treacle sponge or my lemon drizzle cake, it’s about creating something comforting, nostalgic, but with a little twist that makes it feel special.
So if you’ve ever been unsure about banana ice cream like I was, consider this your sign.
Because if this converted me… it will convert you too
Ingredients
- 2 ripe bananas, sliced
- 70g light brown sugar
- 2 tsp miso paste
- 125g pecans
- 397g tin sweetened condensed milk
- 600ml double cream
- 1 tbsp vanilla paste
- 400g caramel
Ingredients
Instructions
- Add the sliced bananas and light brown sugar to a frying pan and place over a low to medium heat. Cook for 4–5 minutes, stirring occasionally, until the bananas soften and the sugar melts. It will look quite pale at first, but keep going until it turns a deeper brown and becomes glossy and slightly sticky. Don’t rush this step or turn the heat up too high, as the sugar can catch and burn.
- Once the bananas are soft and caramelised, remove from the heat and transfer to a blender. Add the miso paste while the mixture is still warm so it melts through easily, then blend until completely smooth. Set aside and allow this to cool fully. This is important so it doesn’t deflate the cream later.
- In a separate large bowl, add the double cream and vanilla paste. Whip until you reach soft peaks. You’re looking for a texture that holds its shape but still has a slight softness to it. This step is what incorporates air into your ice cream, giving it that light, scoopable texture without needing a machine.
- Pour in the condensed milk and gently fold it through the whipped cream. Take your time here and use a spatula, folding rather than stirring, so you keep as much air in the mixture as possible.
- Add the cooled banana and miso mixture to the cream and fold again until fully combined. The mixture should be smooth, thick, and airy.
- Lightly toast the pecans in a dry pan for a few minutes until fragrant, then allow them to cool. This brings out their natural oils and gives a deeper flavour without adding extra sweetness.
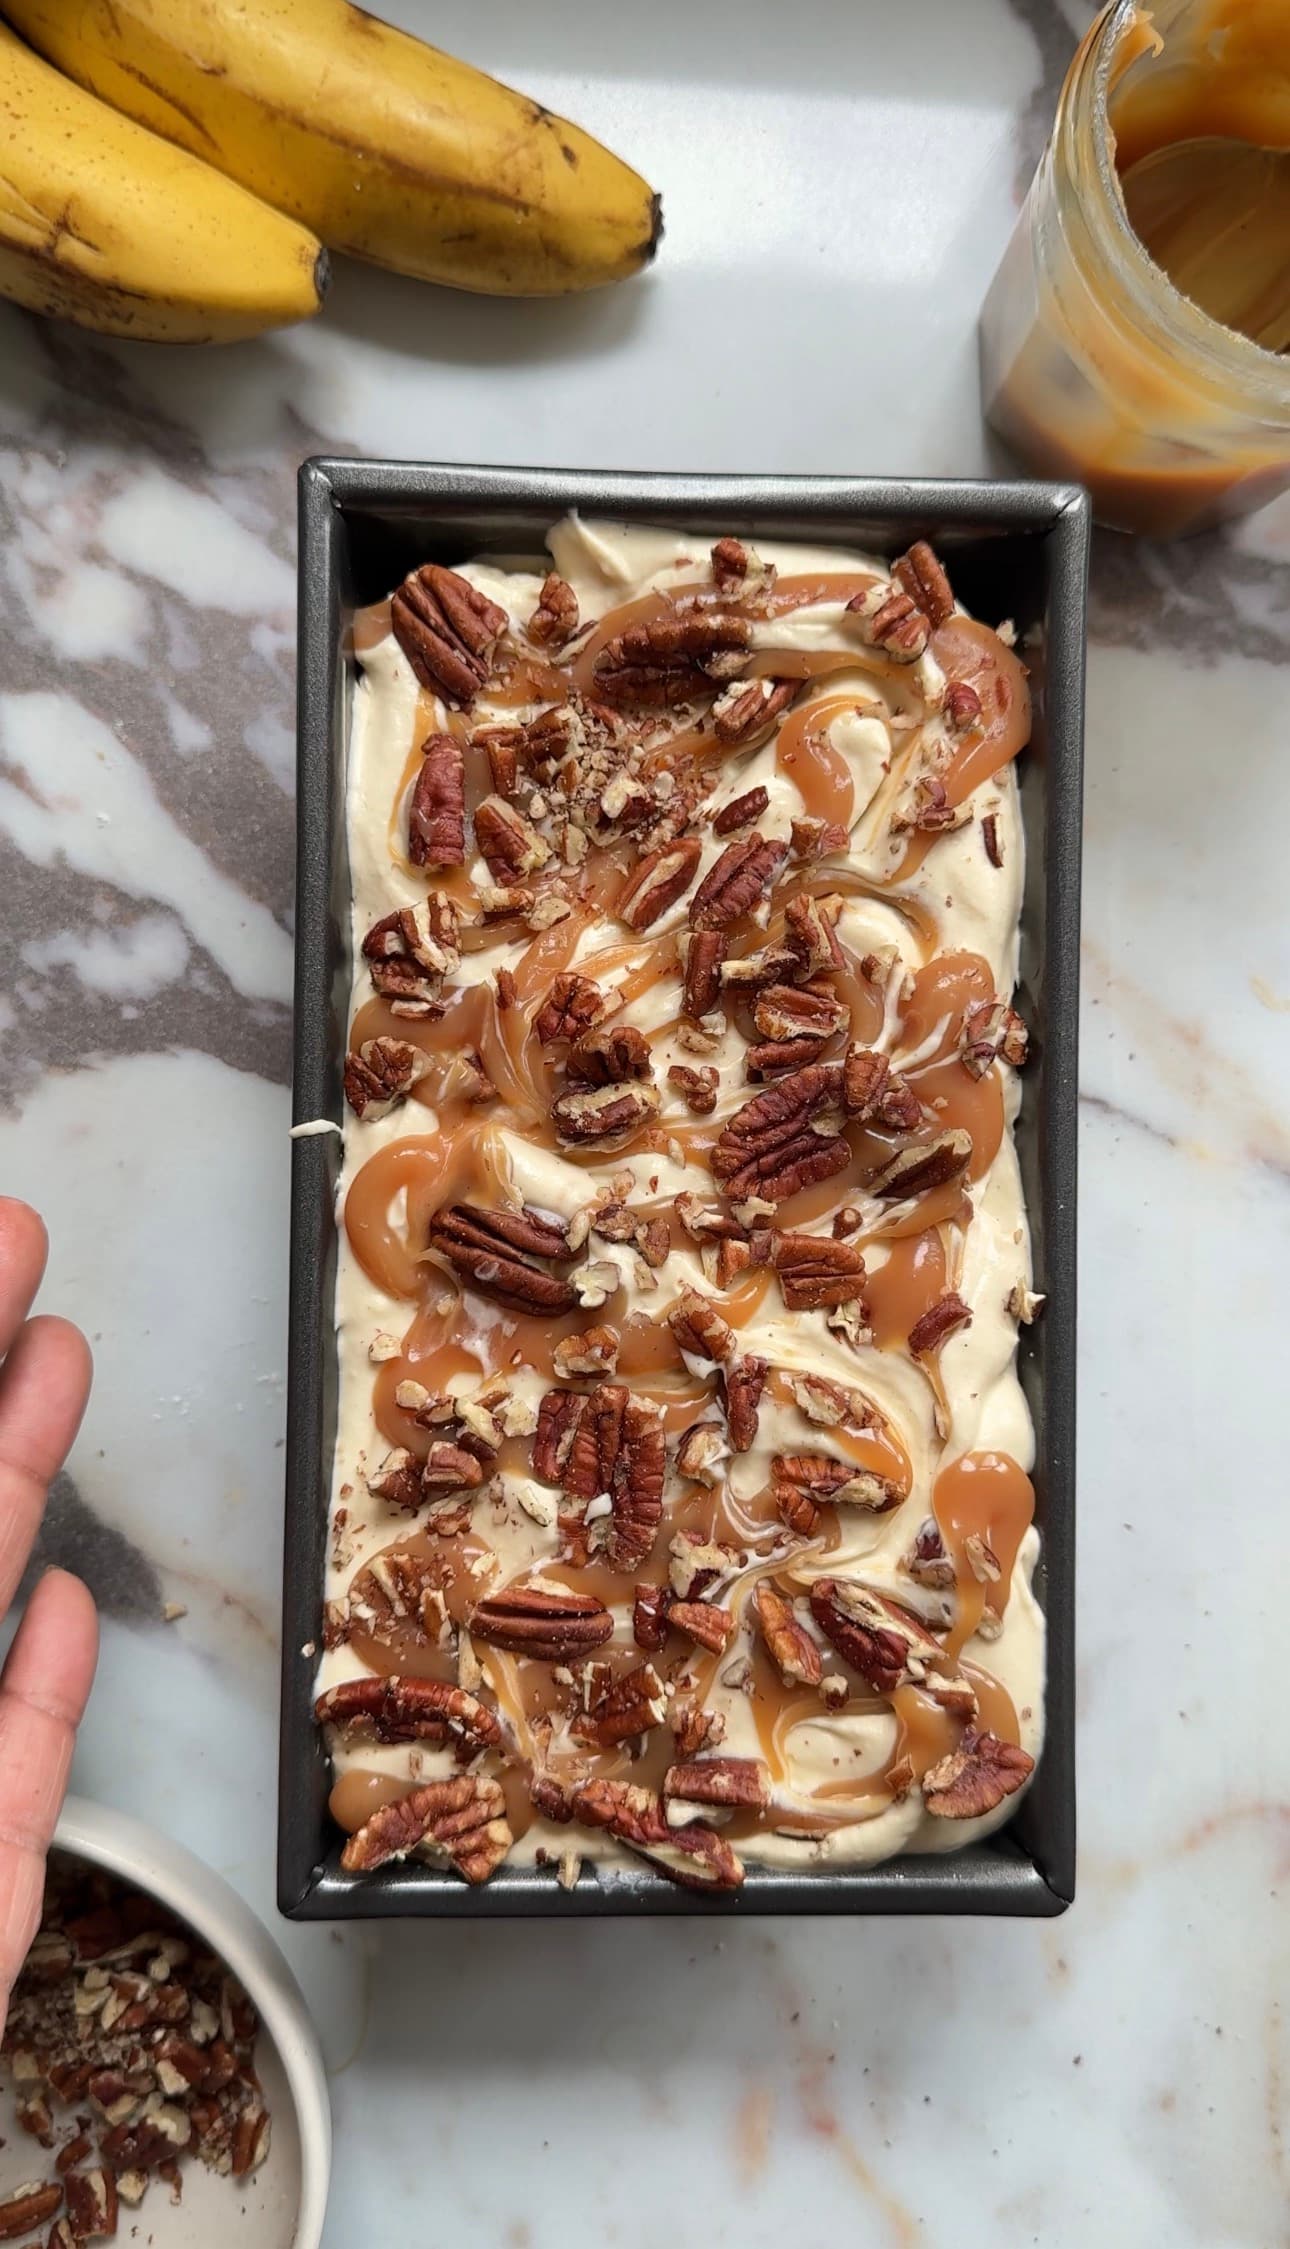
- Spoon a layer of the ice cream mixture into a loaf tin. Drizzle over some caramel and scatter a handful of pecans. Repeat this process, building at least three layers, until everything is used up. This layering ensures you get caramel and crunch running all the way through the ice cream rather than just sitting on top.
- Finish with a final drizzle of caramel and a few extra pecans on top for texture.
- Cover the tin and place in the freezer overnight, or for at least 6–8 hours, until fully set.
- When ready to serve, let the ice cream sit at room temperature for 5–10 minutes to soften slightly for the perfect scoop.

Hi, I'm Remi
Follow me on socials to stay connected!
Pin this Recipe
More like this

More recipes like this
Tempted by something else?


Work with me, or ask me a question!
I'm all about teaming up with cool new brands that align with my audience and make cooking awesome meals a breeze. Drop me a line, and let's cook up some exciting plans together!

Want free recipes and insider knowledge in your inbox?
Subscribe Below!