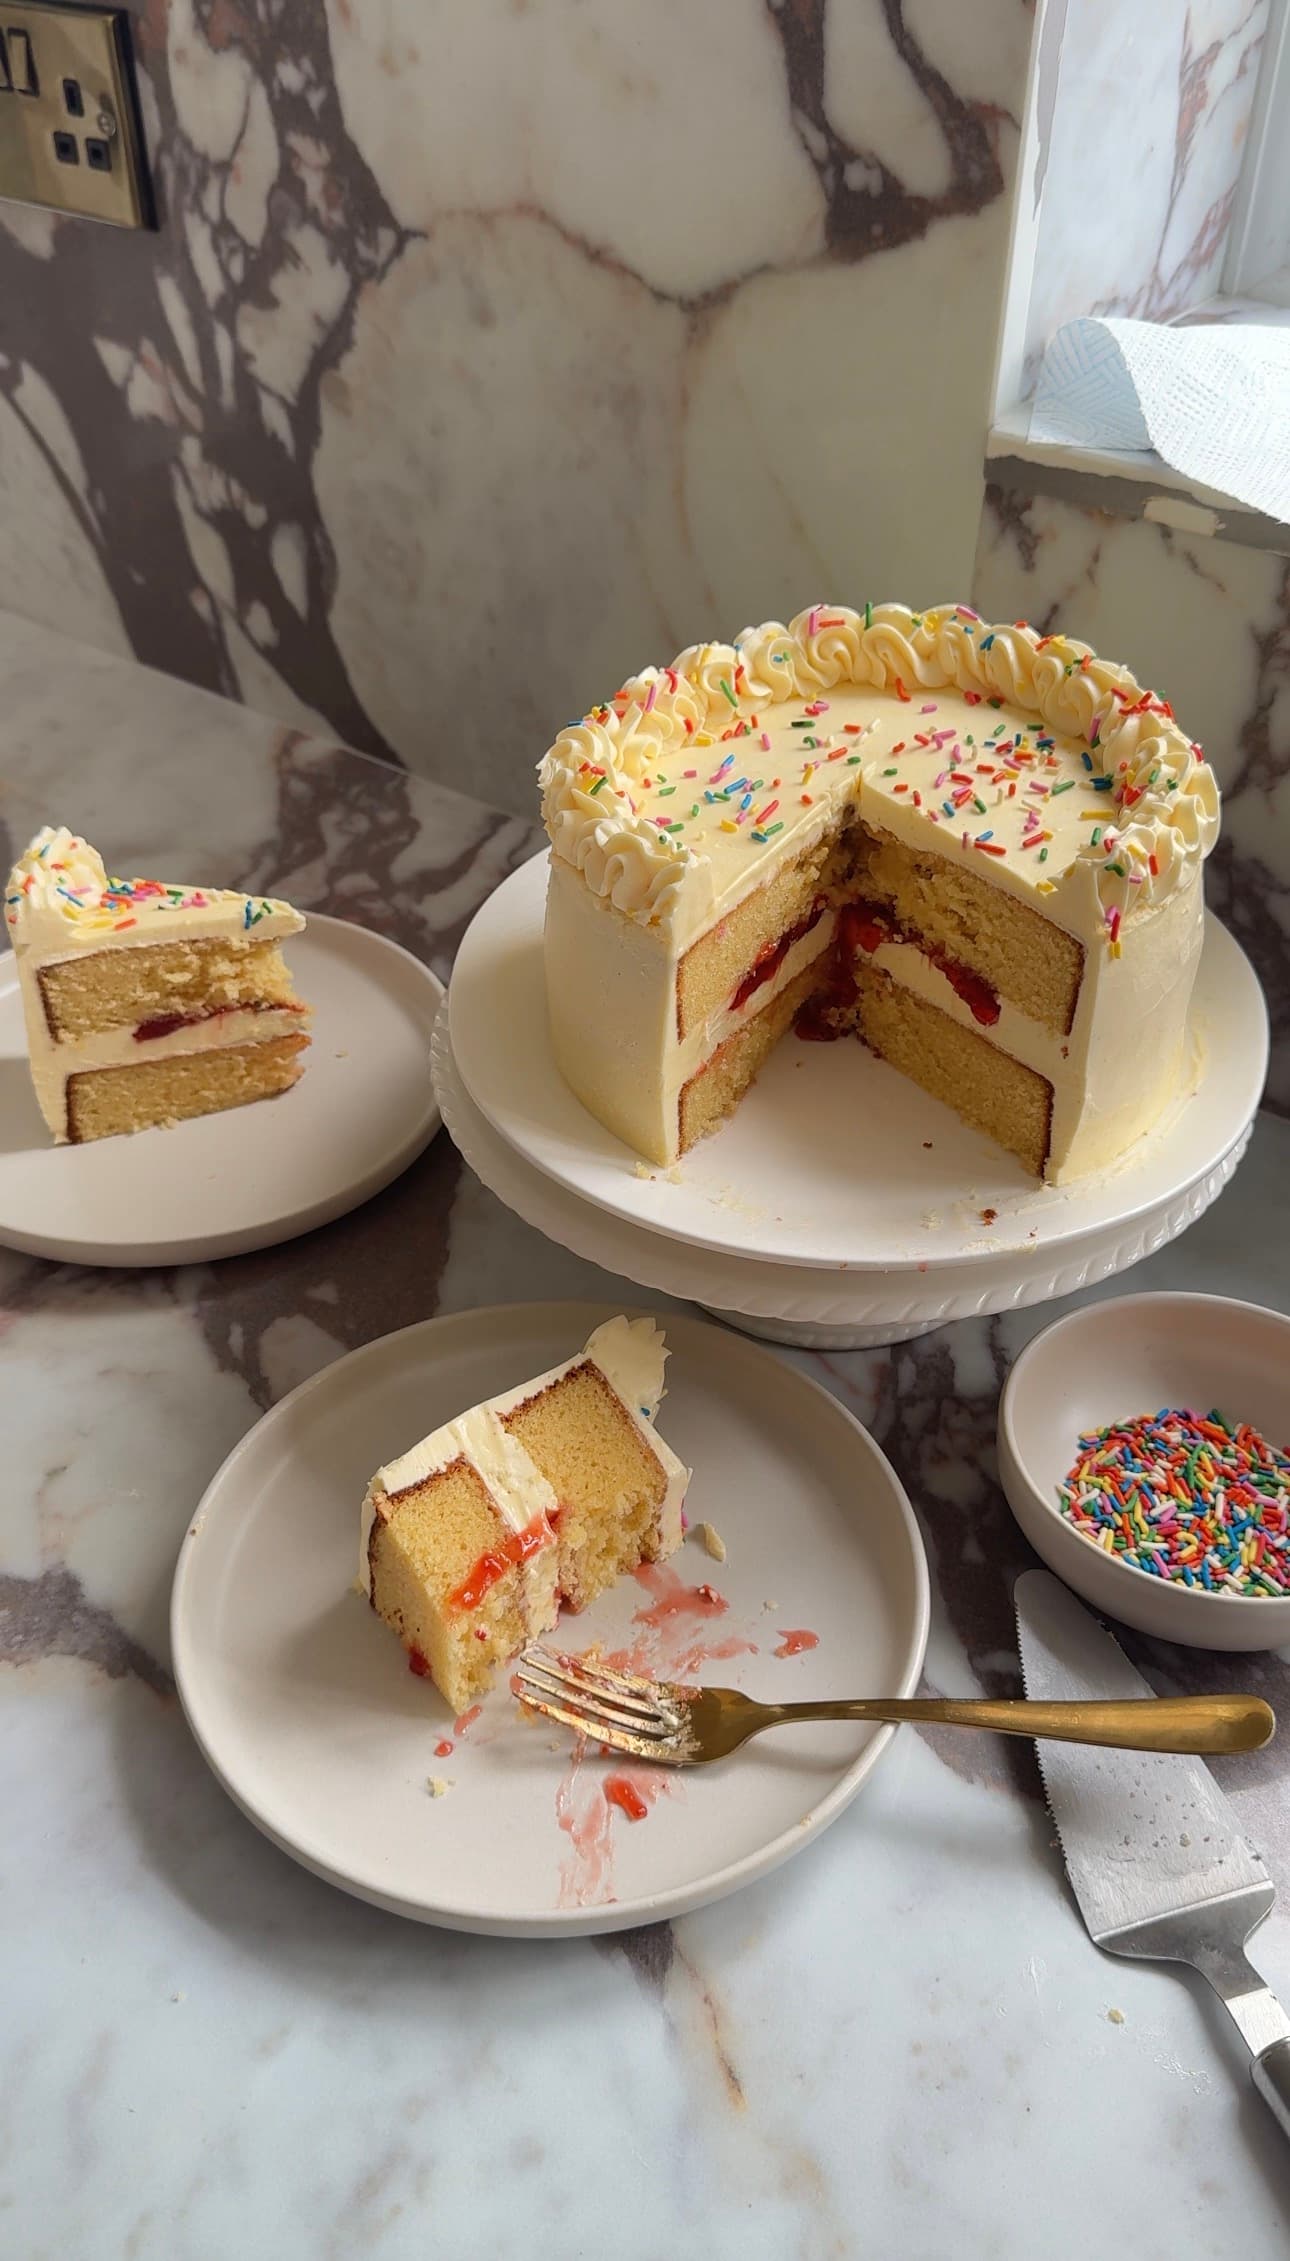
Ultimate Vanilla Cake
About this recipe
I have a bit of an embarrassing confession: for the longest time, I couldn't really decorate cakes.
Now, don't get me wrong, I could bake. I could make brownies, cookies, traybakes and cupcakes. I could make buttercream. I could make a cake taste incredible. But whenever friends asked if I could make a cake for an anniversary, birthday or even a wedding, I'd immediately shy away from it. The idea of creating those beautifully smooth celebration cakes you see in bakeries felt completely out of reach.
I always felt like cake decorating was a talent that other people had and I didn't.
That was until I discovered Swiss meringue buttercream.
Suddenly, cake decorating became less frustrating, less stressful and, most importantly, achievable. Instead of spending hours fighting with frosting and endlessly scraping my cake turntable in the hope of getting smooth sides, I finally found a buttercream that worked with me rather than against me.
If you've ever wanted to make a celebration cake but felt intimidated by the decorating side of things, this vanilla layer cake recipe is the perfect place to start.
Why I Prefer Swiss Meringue Buttercream
There are plenty of different buttercreams out there.
You'll find American buttercream, Italian meringue buttercream, French buttercream, German buttercream, Russian buttercream and even ermine frosting.
The most common is American buttercream. This is made by beating butter with icing sugar until fluffy, often with a splash of milk or cream and a little vanilla extract.
It's quick, simple and perfect for cupcakes. In fact, you'll find it on plenty of recipes here on my website.
The downside is that it can be incredibly sweet when used on an entire layer cake. Because it's made primarily from butter and icing sugar, it can sometimes feel heavy and overly rich after a few bites.
Swiss meringue buttercream is completely different.
Instead of relying on icing sugar, it's made by heating egg whites and caster sugar together until the sugar dissolves. The mixture is then whipped into a glossy meringue before softened butter is gradually added.
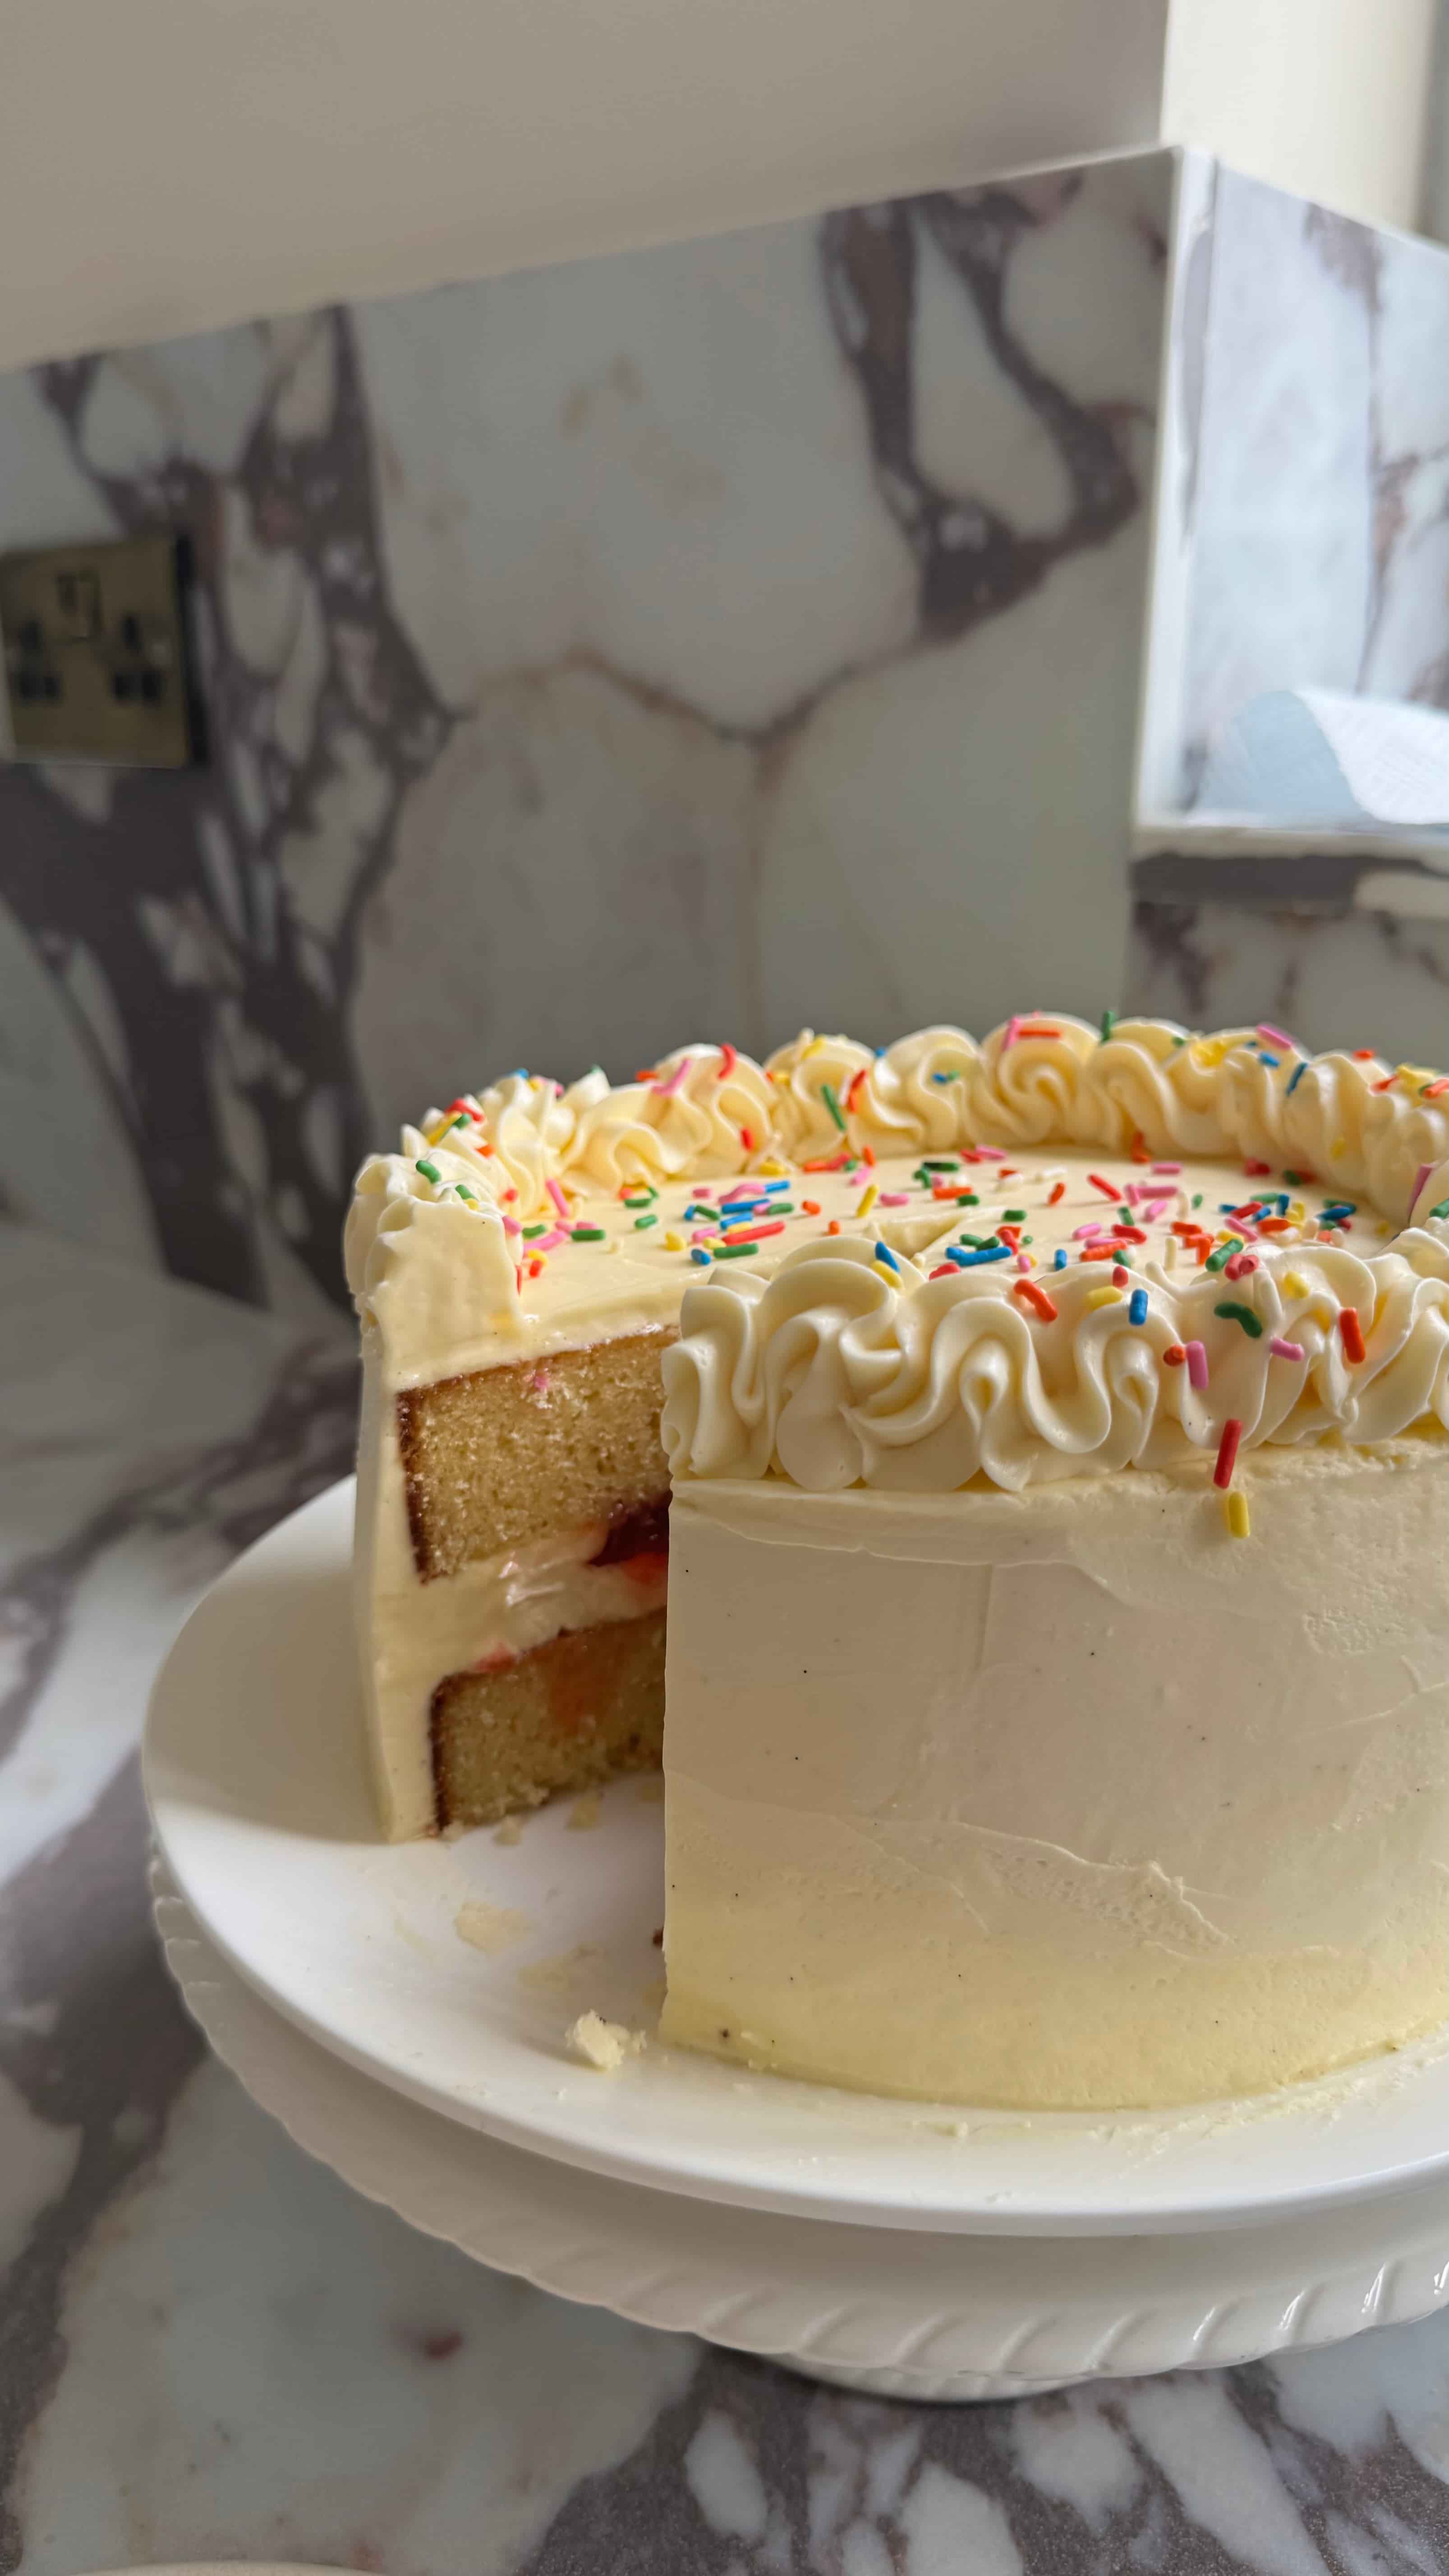
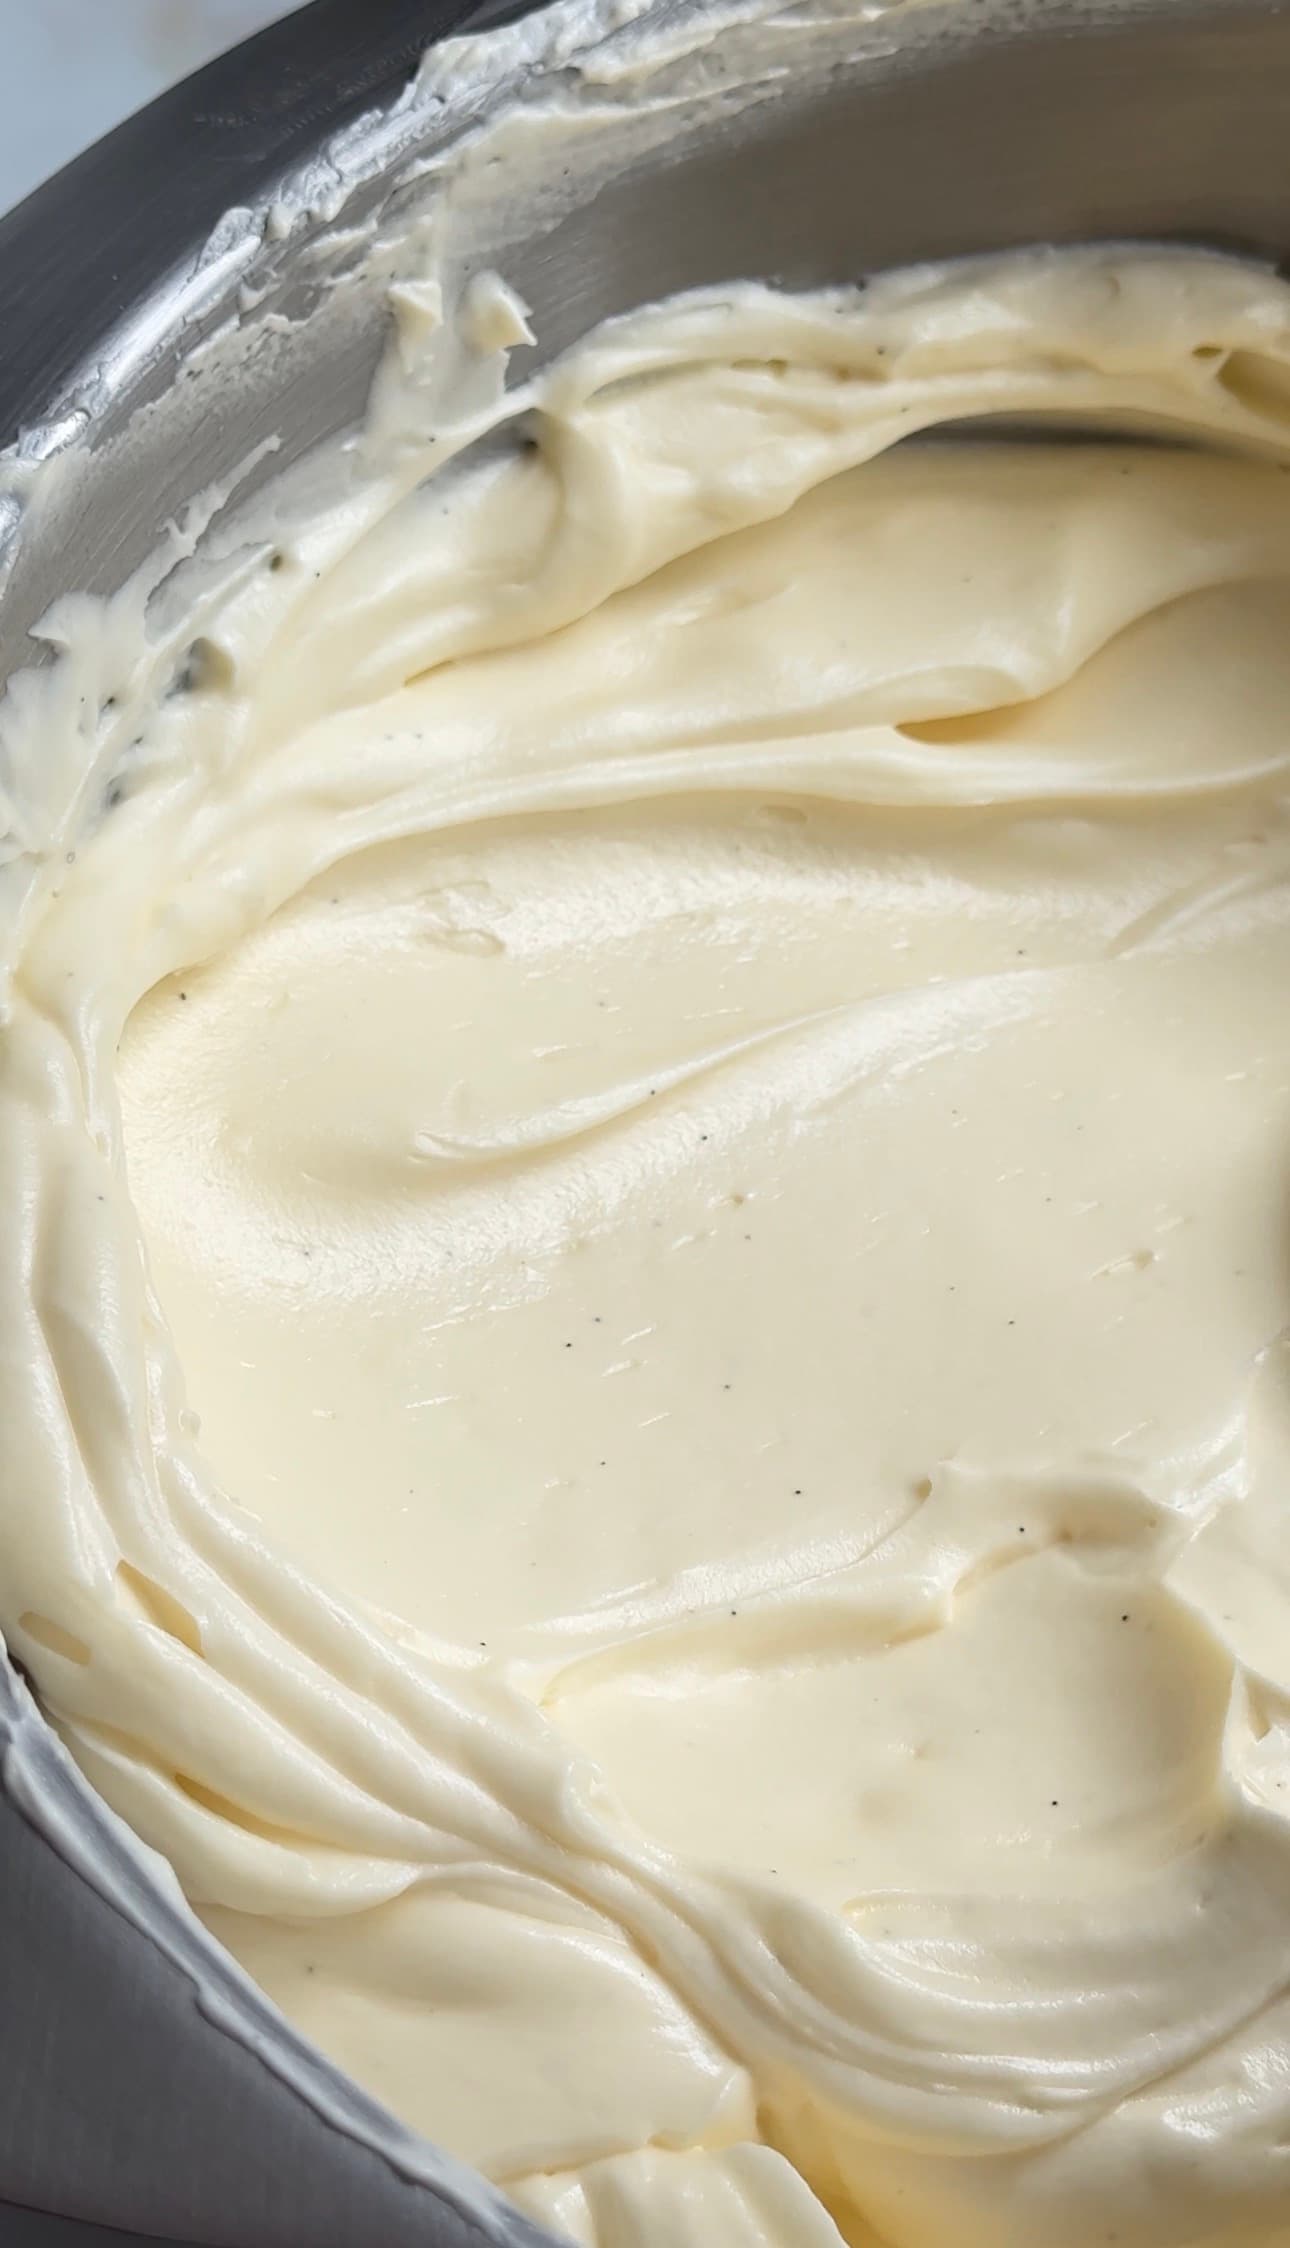
The result is a silky, smooth buttercream that feels much lighter on the palate and creates beautifully sharp cake edges.
It's also far easier to smooth, making it ideal for celebration cakes.
Now I know "Swiss meringue buttercream" sounds intimidating, but I promise it isn't nearly as complicated as it sounds.
That said, I highly recommend using a stand mixer. The thought of making this with a hand mixer genuinely makes my arms ache. The meringue needs a good amount of whipping time and the butter takes a while to incorporate properly, so a stand mixer makes the process significantly easier.
Why the Reverse Creaming Method Creates a Better Sponge
For the cake itself, we're using the reverse creaming method.
If you've made my cakes before, you'll know I'm a huge fan of this technique, especially for celebration cakes.
Unlike the traditional creaming method where butter and sugar are beaten together first, reverse creaming starts by combining the dry ingredients before adding the butter.
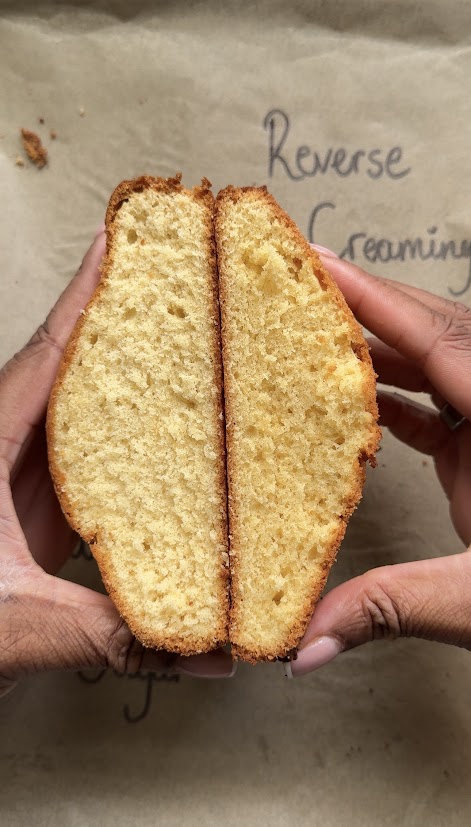
The butter coats the flour particles, limiting gluten development and creating a much softer crumb.
The result is a sponge that is incredibly tender, beautifully even and far less prone to tunnelling or doming.
For layer cakes, that's exactly what we want.
A light, fluffy sponge that stacks neatly and provides the perfect base for decorating.
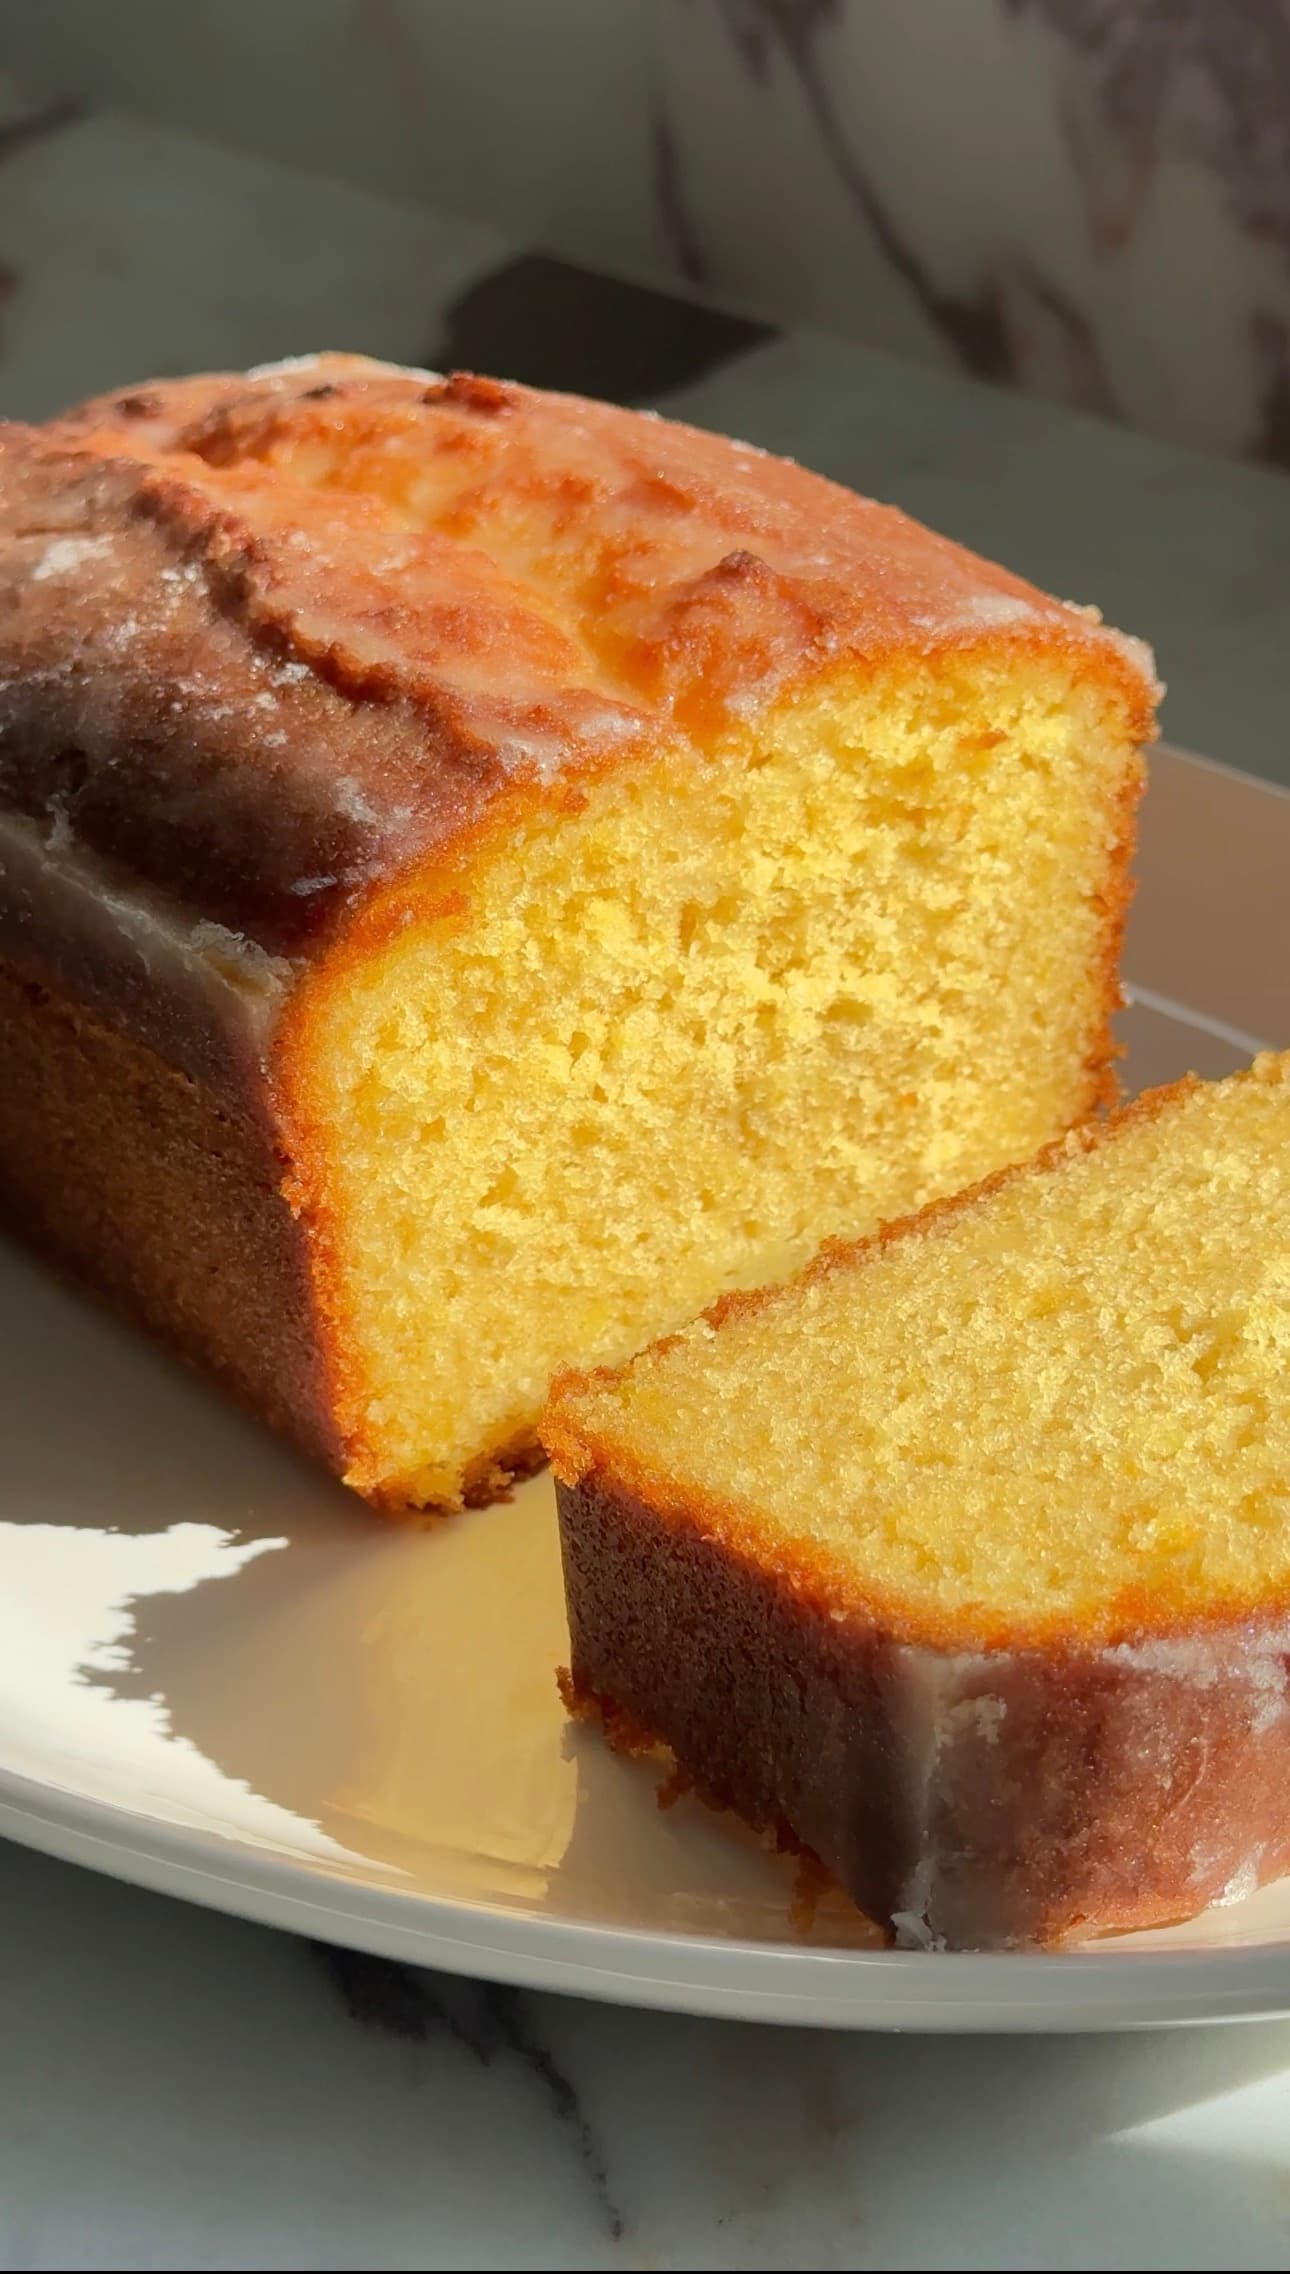
If you enjoy soft cake recipes, I'd also recommend trying my Blueberry Streusel Cake and my Lemon Drizzle Loaf, both of which are reader favourites.
The Secret to Perfect Butter
For both the cake and the buttercream, butter temperature matters more than people realise.
You want genuinely soft butter.
Not melted.
Not cold.
Soft.
I often leave mine out the evening before baking so it's perfectly softened by the next day.
Using butter that's too firm can affect the texture of both the sponge and the buttercream.
For the cake, it won't properly incorporate into the dry ingredients during reverse creaming.
For the buttercream, cold butter can create lumps while overly warm butter can cause the entire mixture to become soupy.
My Favourite Make-Ahead Cake Tip
Once the cakes have baked and cooled completely, I like to wrap them tightly in cling film and place them in the fridge overnight.
Is it absolutely necessary?
No.
Will it make decorating easier?
Absolutely.
Cold cakes are significantly easier to handle than room temperature cakes.
They're firmer, create fewer crumbs and are much easier to stack neatly.
One thing I definitely don't recommend is decorating a warm cake.
Warm sponge and buttercream are not friends.
You'll quickly find yourself with sliding layers, melting frosting and a very stressful afternoon.
How to Make Swiss Meringue Buttercream Successfully
The most important step when making Swiss meringue buttercream is ensuring the sugar completely dissolves.
When heating the egg whites and caster sugar together, dip a clean finger into the mixture and rub it between your fingers.
You shouldn't feel any sugar granules whatsoever.
If you can still feel graininess, continue heating and whisking.
Once the sugar has dissolved, whip the mixture until you have a thick, glossy meringue.
Ideally, allow the bowl to cool completely before adding the butter.
This isn't mandatory, but it does make life easier and can help create a smoother buttercream with fewer air bubbles.
Help! My Buttercream Looks Wrong
The good news is that Swiss meringue buttercream is incredibly forgiving.
If your buttercream looks soupy after adding the butter, it's usually because the mixture is too warm.
Simply place the bowl in the fridge for 15 to 20 minutes and then continue mixing.
It should come together beautifully.
If your buttercream looks curdled or lumpy, the butter was likely too cold.
In this case, gently warm the outside of the bowl using a warm tea towel or briefly hold the bowl over warm water for a few seconds before continuing to mix.
Most of the time, the answer is simply to keep mixing.
Swiss meringue buttercream often looks worse before it looks better.
Trust the process.

How to Get Smooth Cake Sides
The biggest lesson I've learnt from cake decorating is that smooth sides aren't about talent.
They're about technique.
After applying your buttercream, use a cake scraper or bench scraper to smooth the sides while rotating the cake.
For an extra professional finish, run your bench scraper under boiling water, dry it thoroughly and then make one final pass around the cake.
The gentle warmth helps smooth the buttercream and creates beautifully sharp edges.
It's one of those small tricks that makes a huge difference.
More Recipes You'll Love
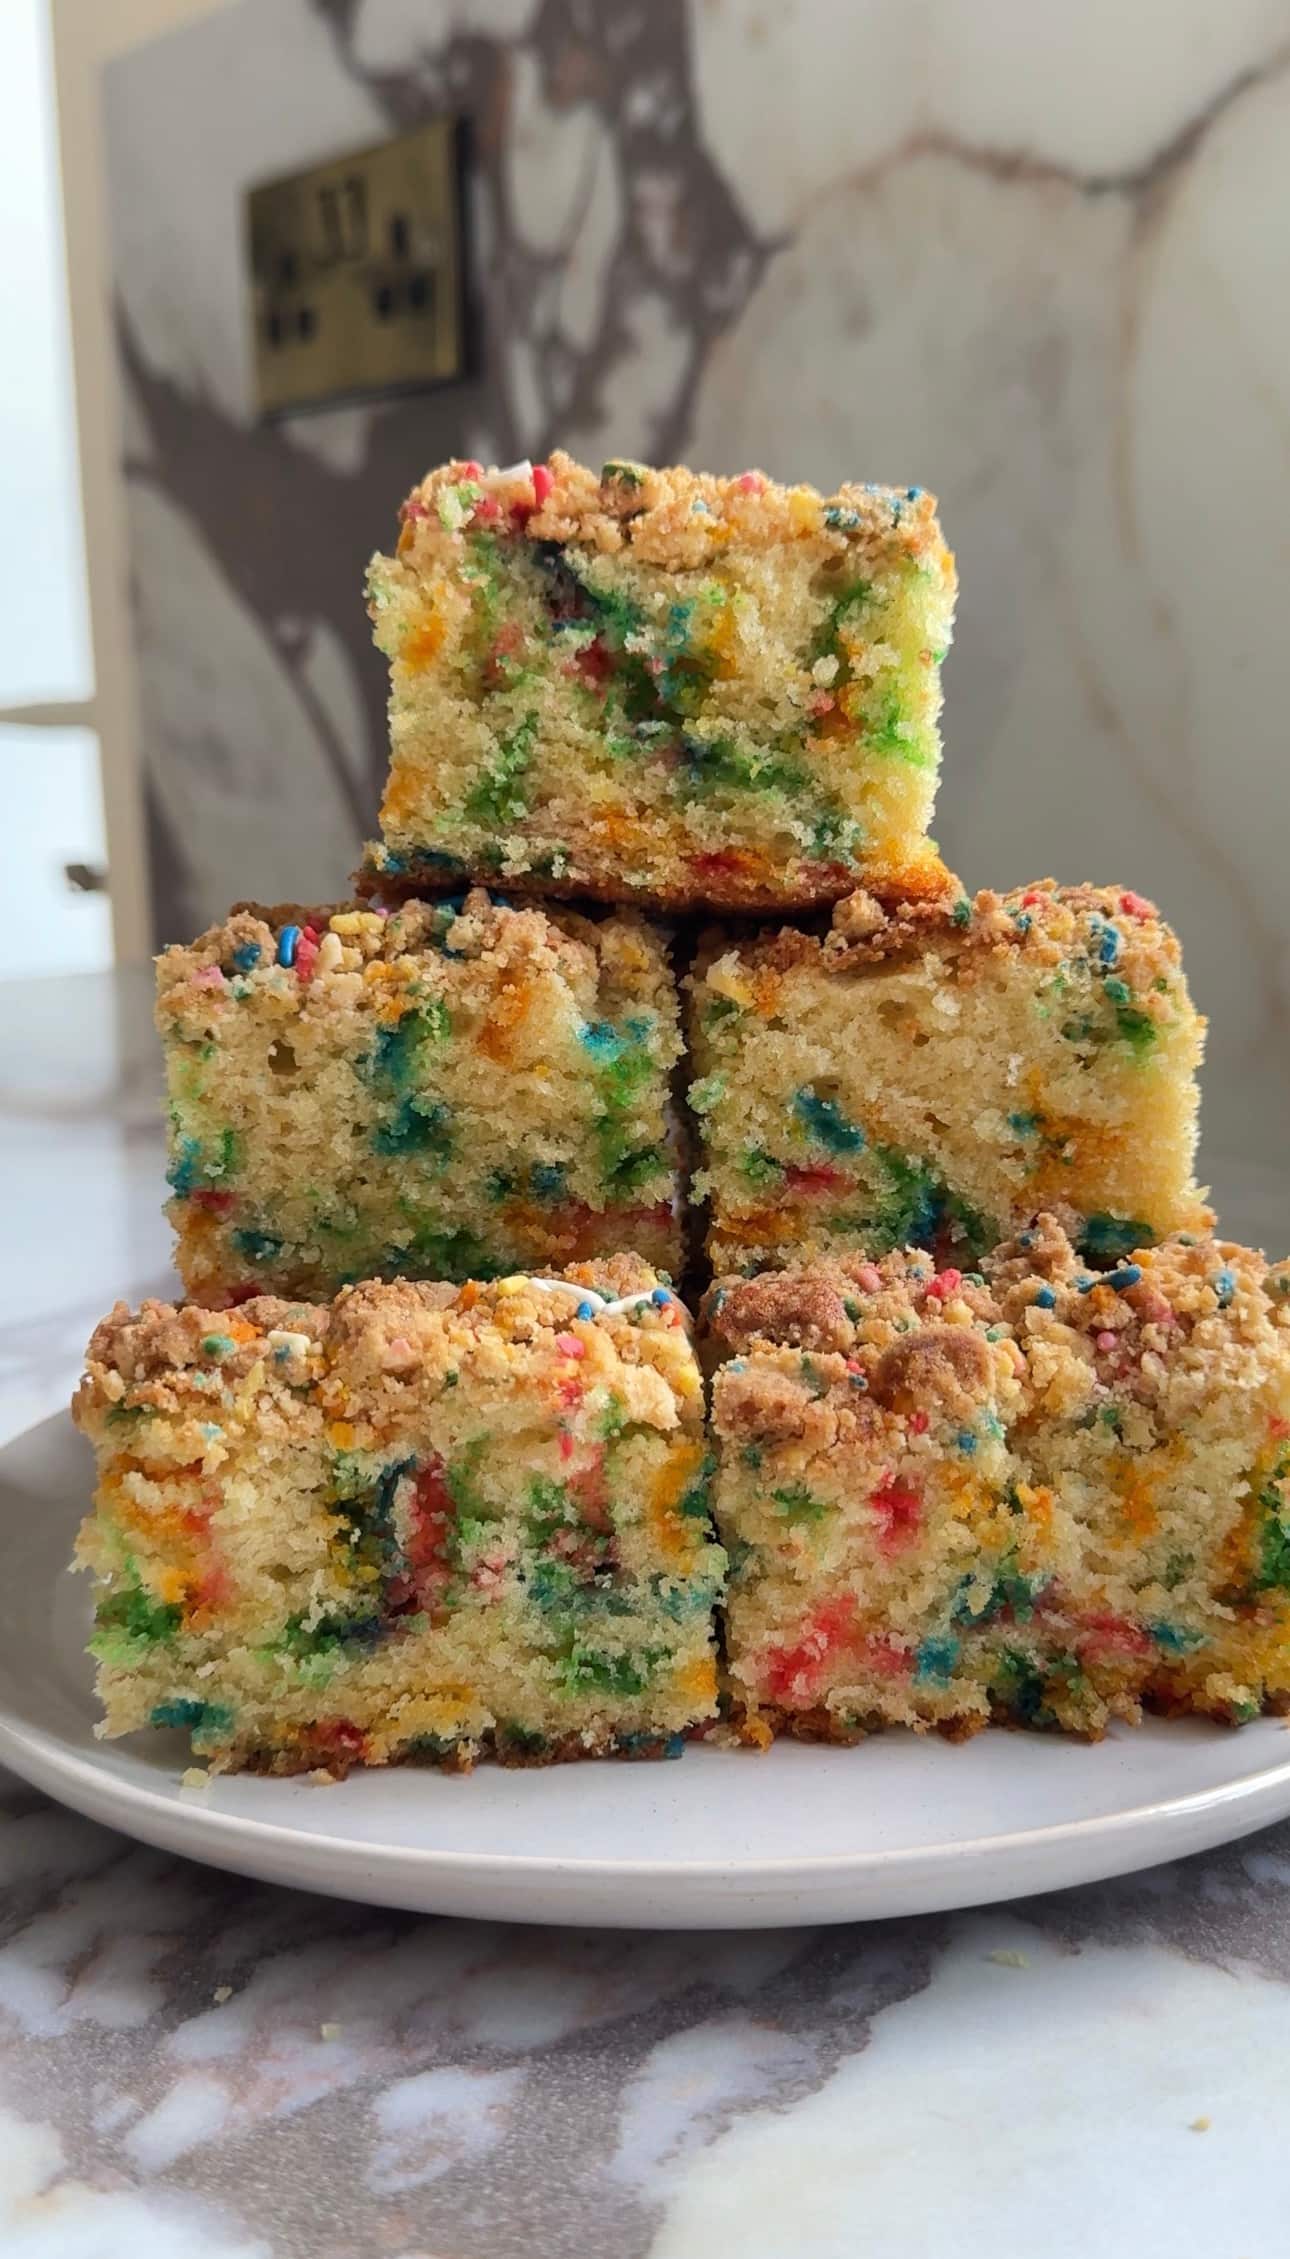
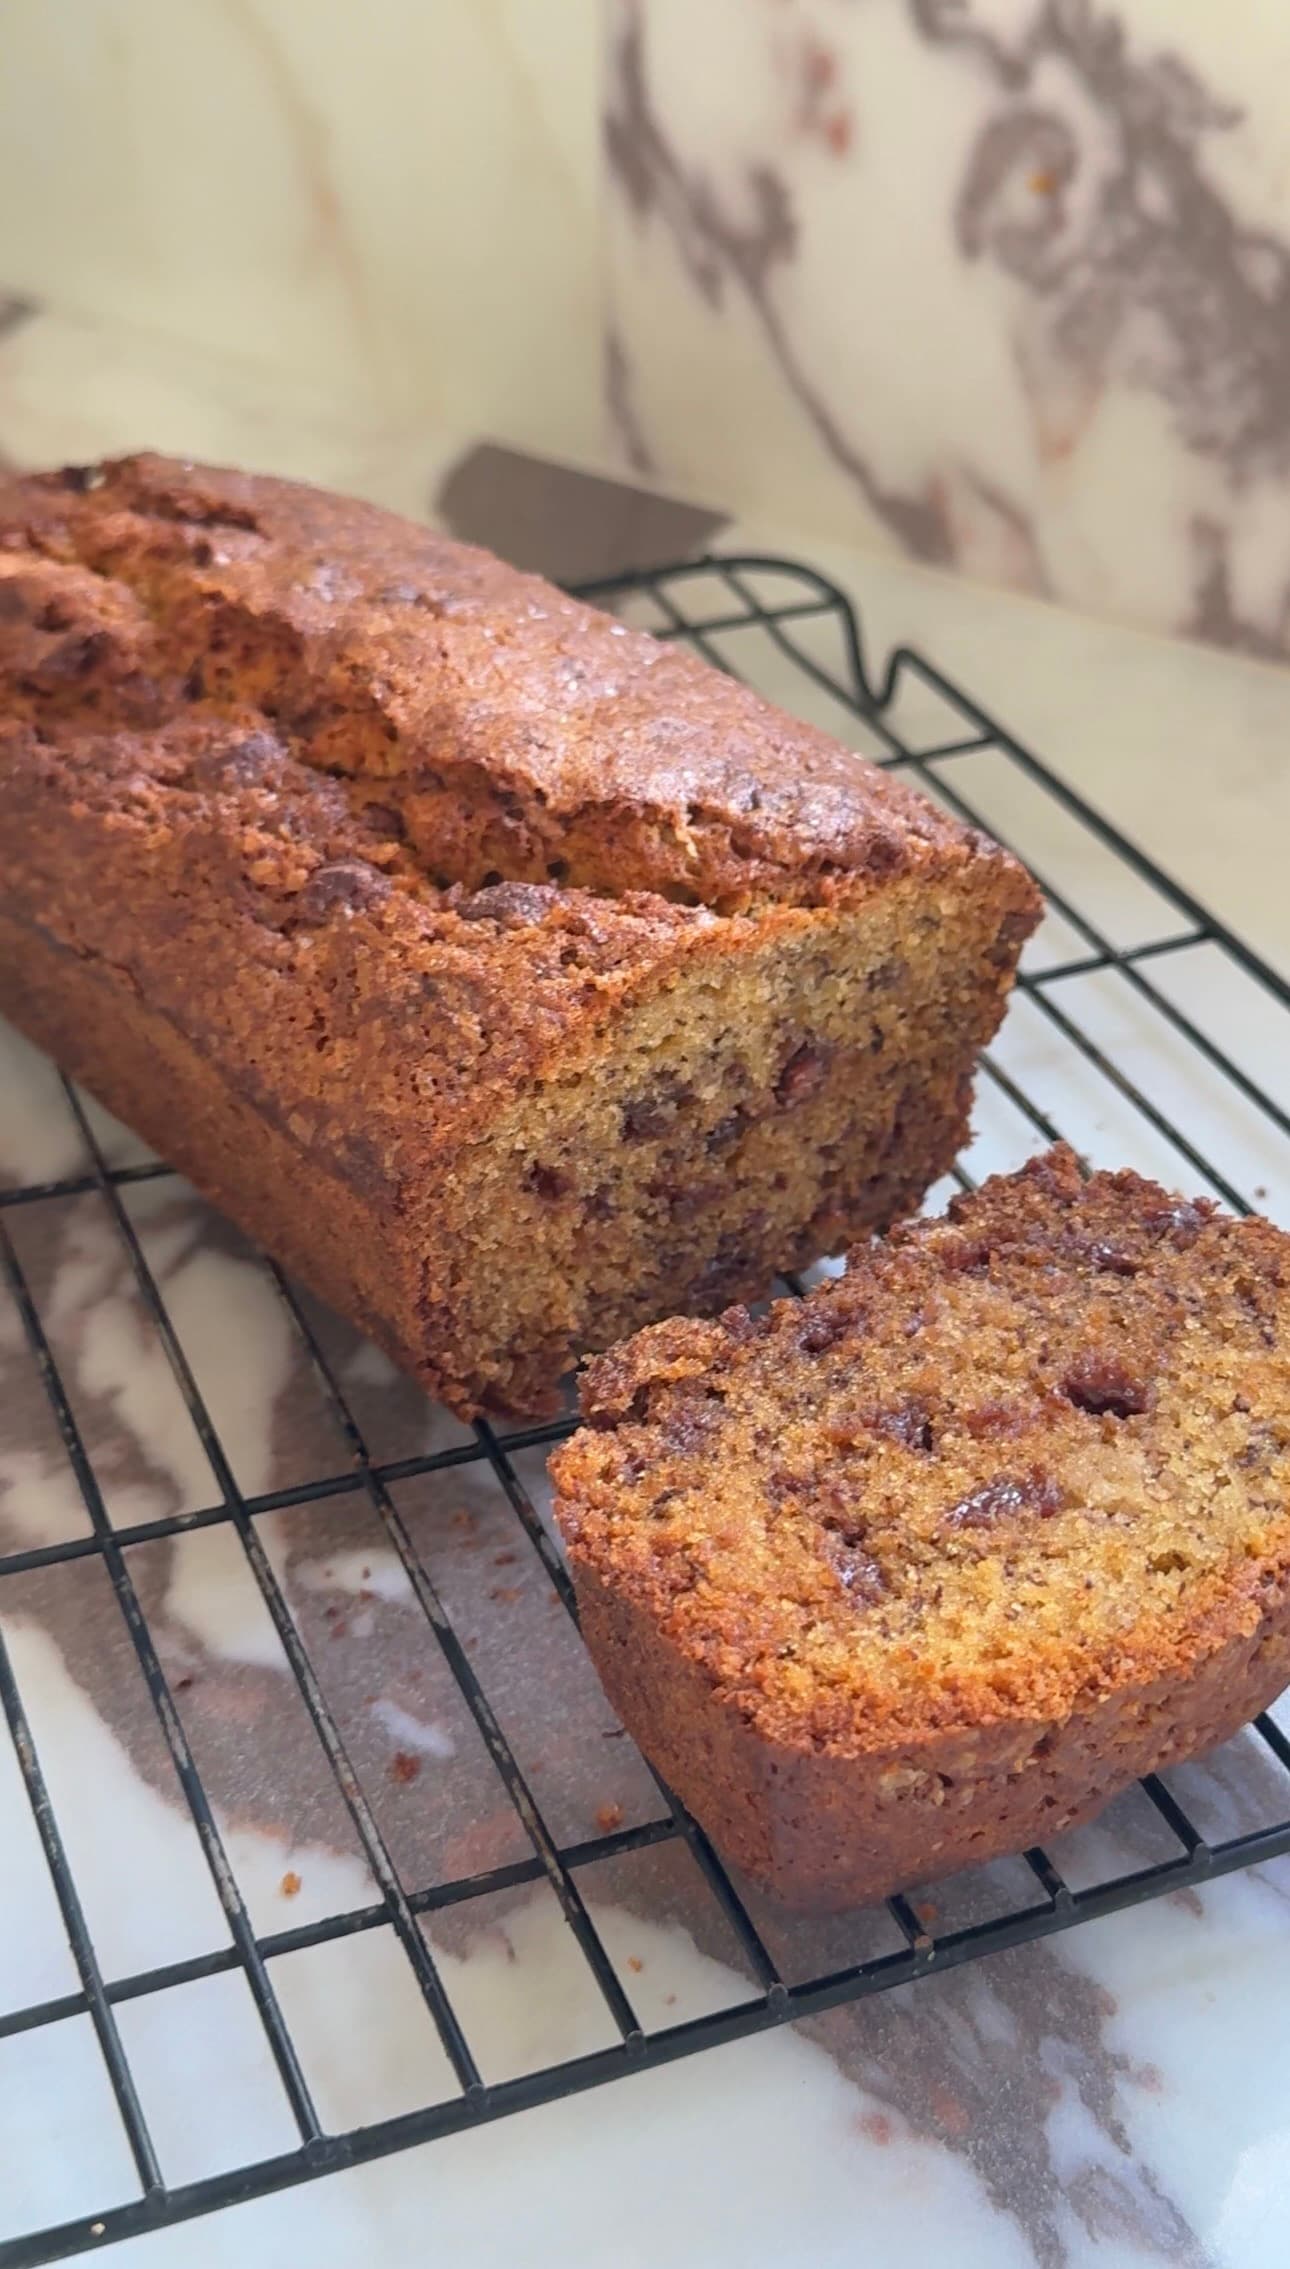
If you're looking to build your baking skills further, make sure to check out some of my other popular recipes including my Oreo Cheesecake Brownies, Almond Croissant Cookies, Funfetti Sprinkle Tres Leches Cake and Brown Butter Banana Bread.
They're all designed to teach you not just how to bake, but why recipes work, helping you become a more confident baker every time you step into the kitchen.
Because if someone who spent years avoiding celebration cakes can learn to decorate one, trust me, you absolutely can too.
Ingredients
Vanilla Sponge
- 370g self-raising flour
- 400g caster sugar
- 4 tbsp milk powder
- 2 tsp baking powder
- 160g butter, softened
- 60ml neutral oil
- 230g sour cream
- 6 eggs (room temperature)
- 2 tbsp vanilla paste
- 1 tbsp vanilla extract
Swiss Meringue Buttercream
- 300g egg whites
- 600g caster sugar
- 600g unsalted butter, softened
- 1 tsp vanilla paste
Filling
- Strawberry Jam
Ingredients
Instructions
- Preheat the oven to 170°C fan / 180°C conventional. Grease and line two 8-inch (20cm) round cake tins with baking paper.
- Add the self-raising flour, caster sugar, milk powder and baking powder to the bowl of a stand mixer fitted with the paddle attachment. Mix on low speed for 30 seconds to combine.
- Add the softened butter and oil. Mix on low speed until the mixture resembles fine breadcrumbs and no large pieces of butter remain.
- In a separate jug, whisk together the sour cream, eggs, vanilla paste and vanilla extract until smooth.
- Pour half of the wet mixture into the dry ingredients and mix on low speed until just combined.
- With the mixer running on low, slowly pour in the remaining liquid mixture. Mix only until a smooth batter forms. Scrape down the bowl and fold through with a spatula to ensure there are no dry pockets.
- Divide the batter evenly between the prepared tins. Each tin should contain approximately 700-750g of batter.
- Bake for 30-35 minutes, or until the cakes are lightly golden, spring back when touched and a skewer inserted into the centre comes out clean.
- Leave the cakes in the tins for 10 minutes before turning out onto a wire rack to cool completely - the cake cannot be warm when assembling.
Swiss Meringue Buttercream
- Add the egg whites and caster sugar to a heatproof bowl and set over a pan of simmering water. Ensure the base of the bowl does not touch the water.
- Whisk until the sugar has completely dissolved. Rub a little between your fingers; it should feel completely smooth with no sugar granules.
- Allow to cool.
- Transfer the egg mix to a stand mixer fitted with the whisk attachment and whisk on high speed until a stiff, glossy meringue forms and the bowl feels cool to the touch. This can take 10-15 minutes.
- Switch to the paddle attachment. With the mixer on medium speed, add the softened butter.
- If mixture may look curdled your buttwe was too cold scoop some out microwave and keep mixing, if your mixture looks soupy your butter was too warm leave it in the fridge to cool for 10-15 mintues and continue mixing.
- Continue mixing and it will come together into a smooth buttercream.
- Add the vanilla paste and beat for a further 2-3 minutes until silky smooth.
Assembly
- If needed, level the tops of your cakes using a serrated knife. Skipping this step can leave you with a domed, uneven cake that may lean once stacked.
- Place the first sponge layer onto a cake board or serving plate.
- Transfer the buttercream to a piping bag fitted with a large round nozzle, or simply snip the end off the bag.
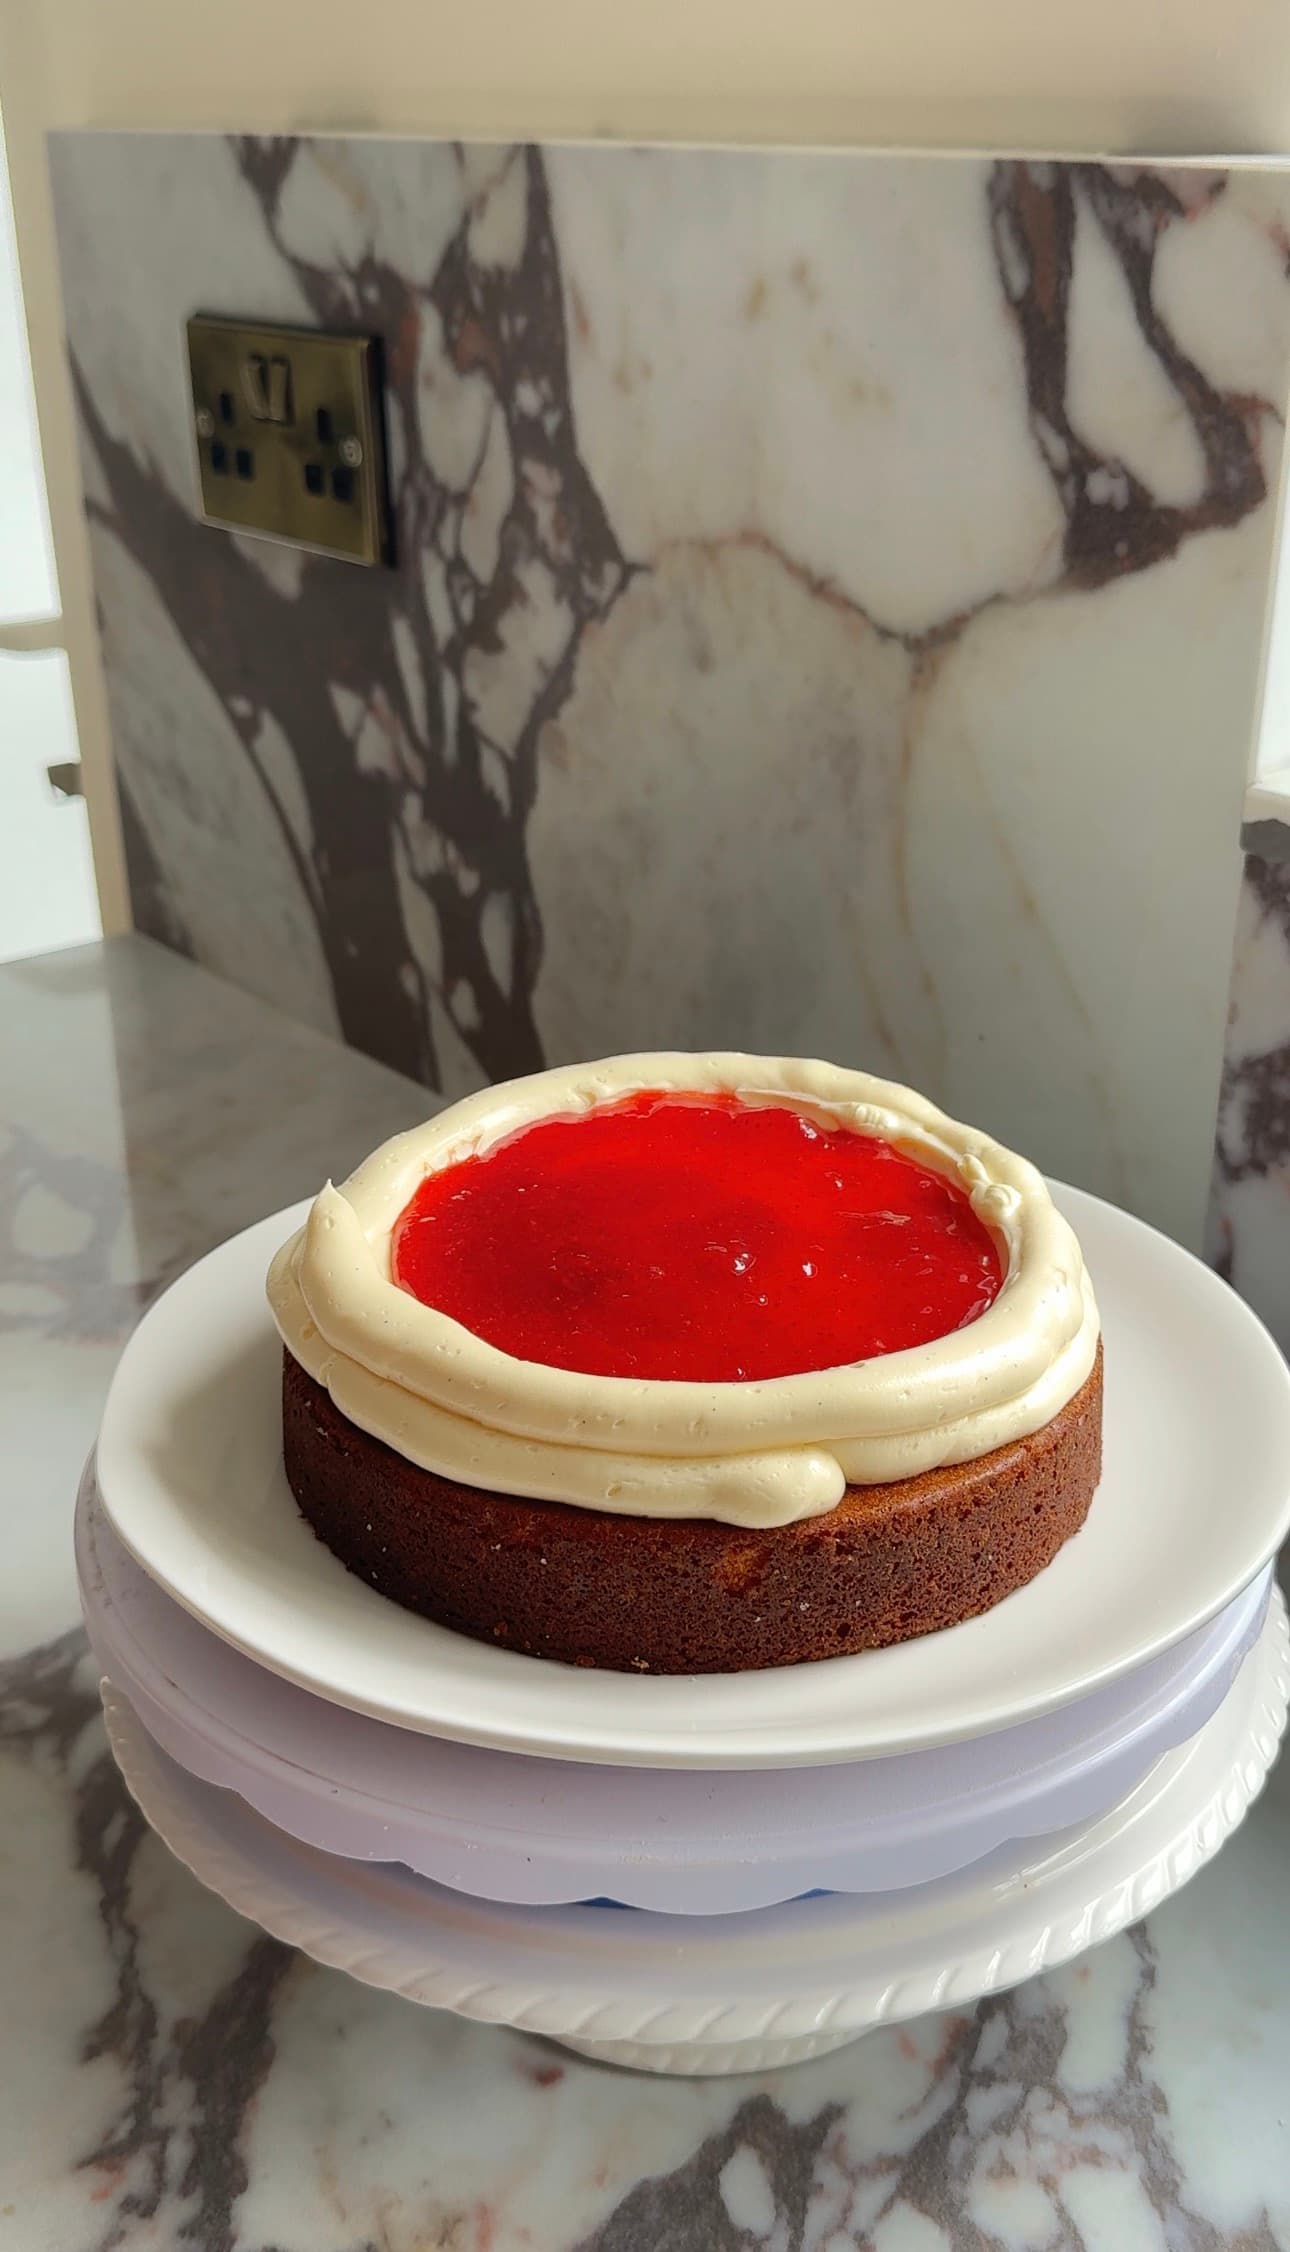
- Pipe a thick ring of buttercream around the outer edge of the cake layer. Then pipe a second, smaller ring slightly inside the first. This creates a barrier that helps prevent the jam from spilling out when the cake is assembled.
- Spoon the jam into the centre and spread it evenly within the buttercream border.
- Place the second cake layer on top and gently press down until level.
- Pipe buttercream around the sides and top of the cake rather than applying it with a spatula. This helps create a more even coating and makes it easier to achieve smooth, straight sides.
- Using a cake scraper or bench scraper, smooth the sides while rotating the cake. Then use an offset spatula to level the top.
- Chill the cake in the fridge for 15 minutes, or until the buttercream feels firm to the touch.
- Remove the cake from the fridge. Use an offset spatula to fill any air pockets, gaps or imperfections with additional buttercream.
- Smooth the sides again with a cake scraper and finish the top with an offset spatula until the cake is neat and even.

Hi, I'm Remi
Follow me on socials to stay connected!
Pin this Recipe
More like this


More recipes like this
Tempted by something else?


Work with me, or ask me a question!
I'm all about teaming up with cool new brands that align with my audience and make cooking awesome meals a breeze. Drop me a line, and let's cook up some exciting plans together!

Want free recipes and insider knowledge in your inbox?
Subscribe Below!